In the three in a half years since the last time I have written a post, my life has changed significantly. I have started a non-photography related career, gotten married, and had a son (listed in order of occurrence, not importance). My passion for photography has never diminished, but my free time has greatly. Not only do I have less time for writing posts, but I also do not go out shooting nearly as much as like to. My previous, brand Sony, was incredible and they continue to release cameras with progressively impressive specifications, but I chose to sell my Sony a couple years ago because I was not using it enough for how much I had invested into lenses. I had loved my Fuji X-E2 prior to investing in the Sony ecosystem, so I decided to downsize into a Fuji X-T20 as the X-E3 had not been released. Until a few weeks ago, when the X-T3 was added to my bag, the X-T20 had been the camera that had gone everywhere with me and it was used to take some of my favorite photographs and document many of my best memories.

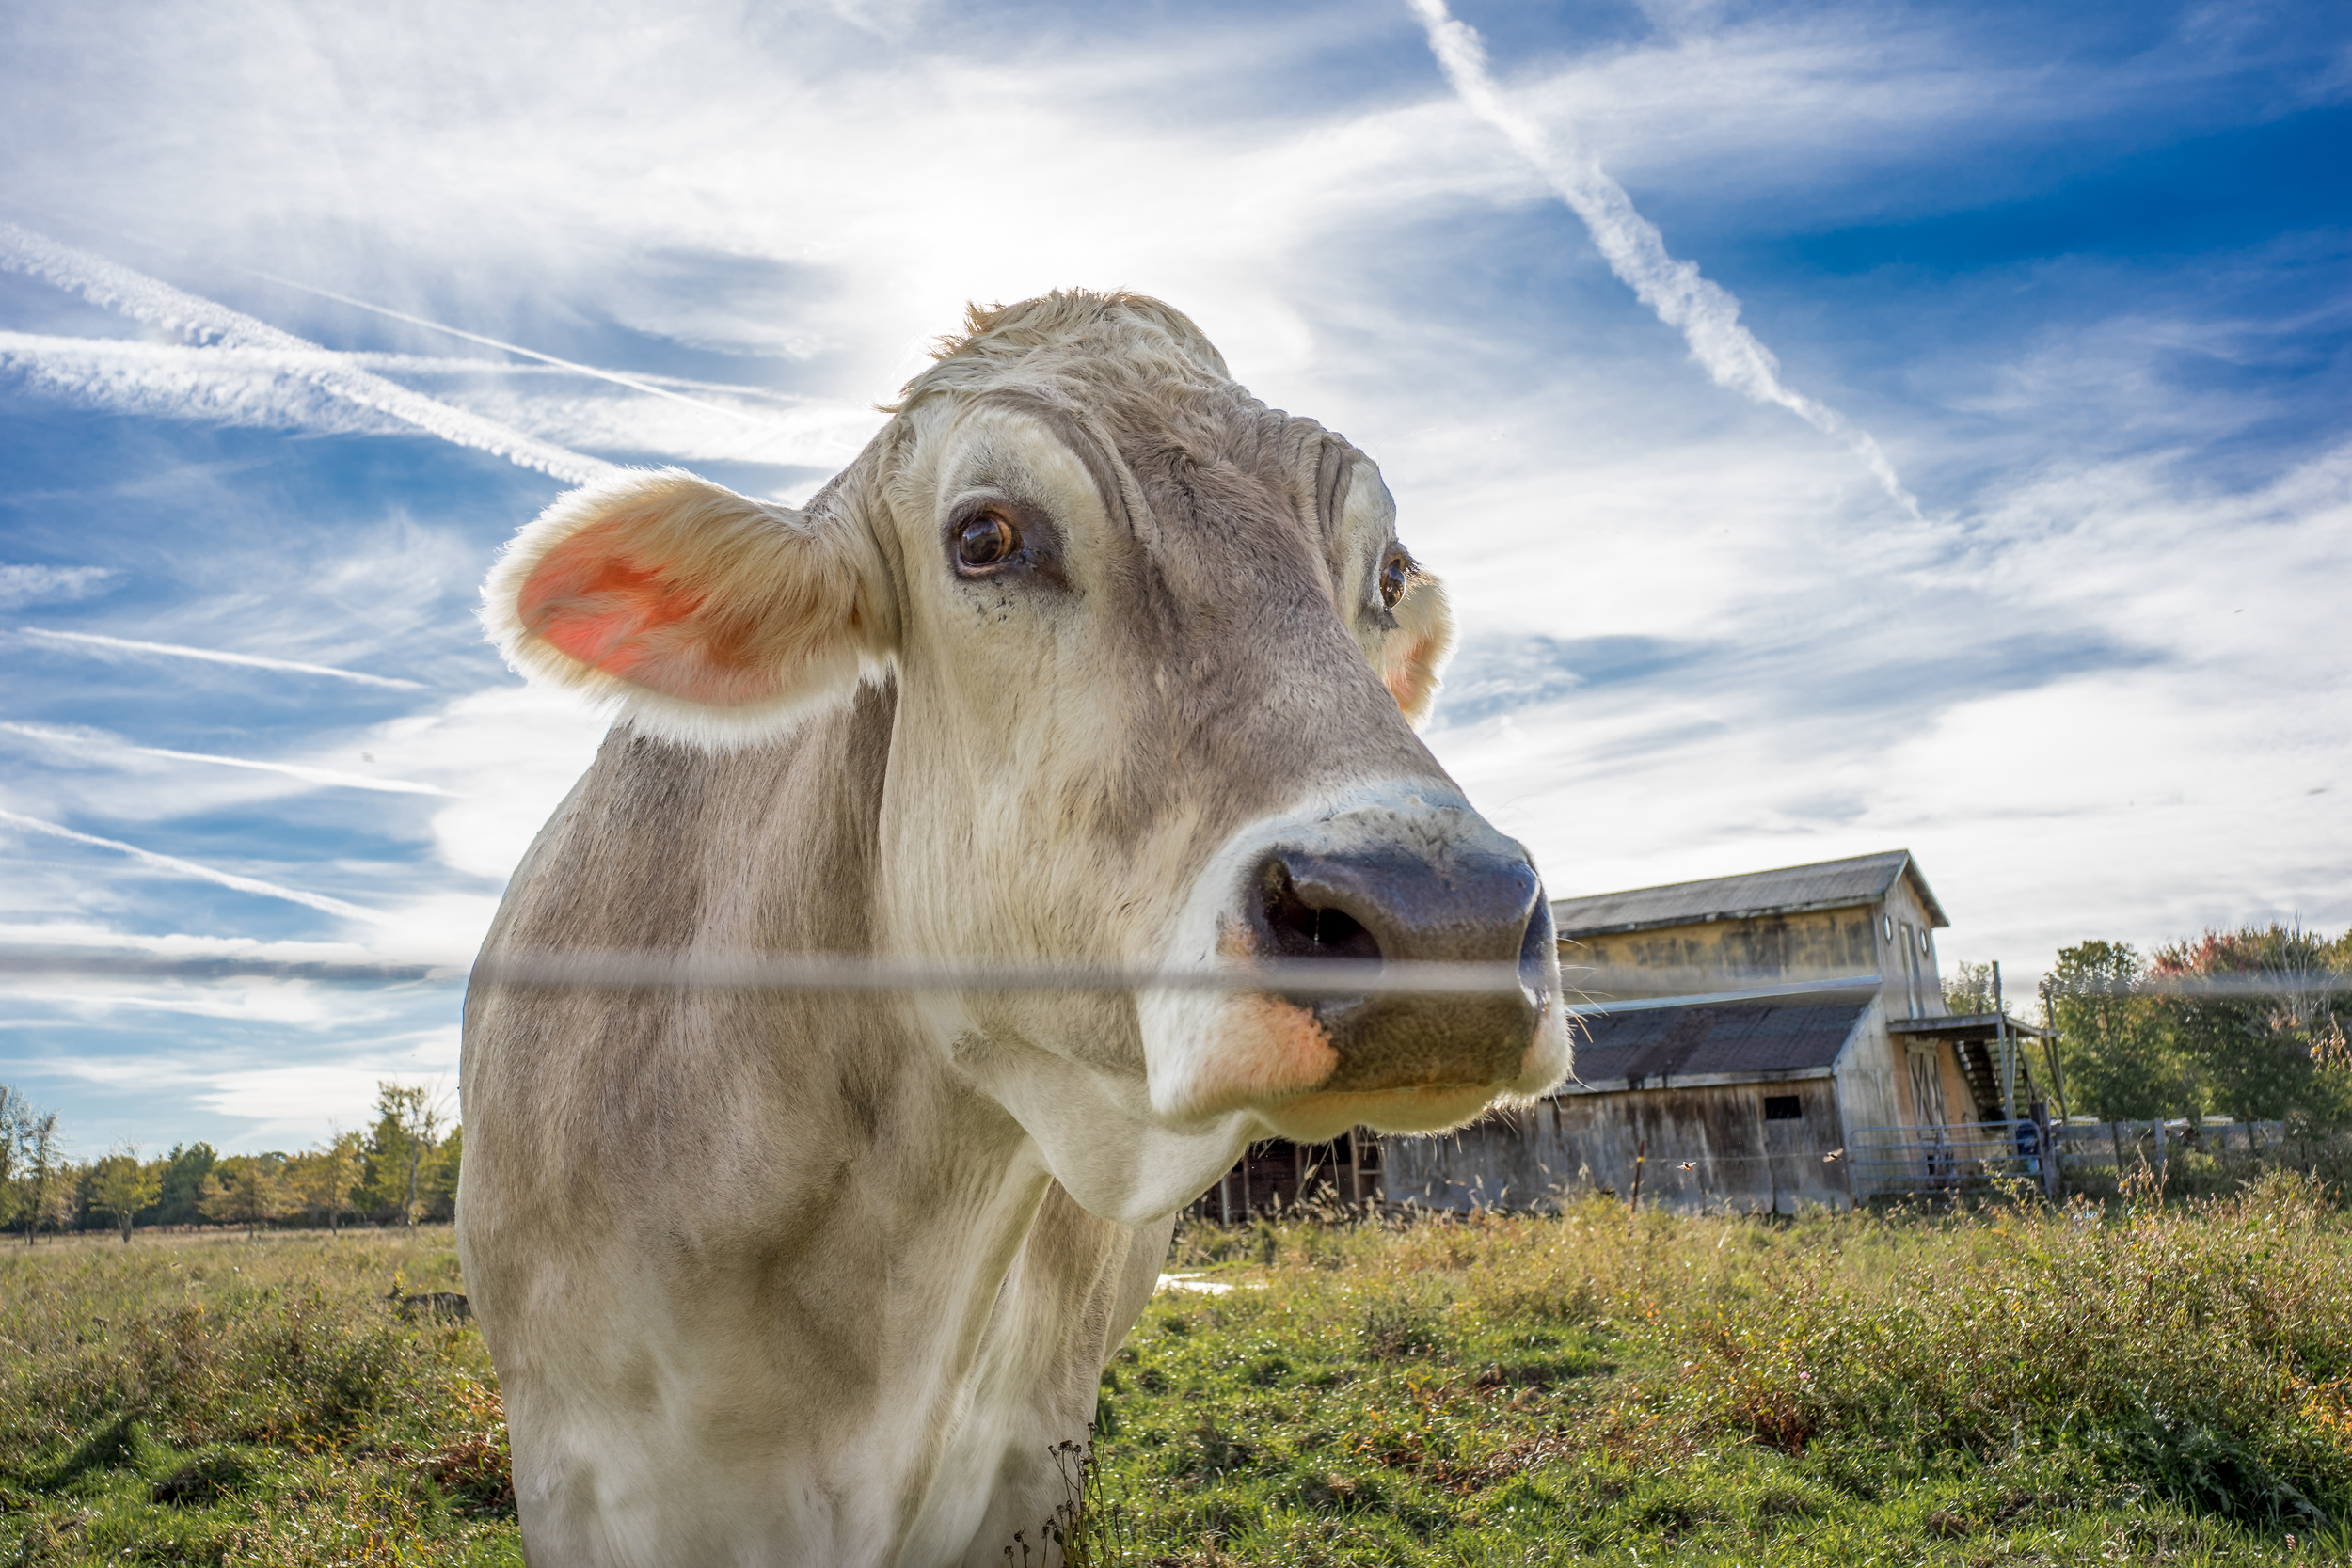
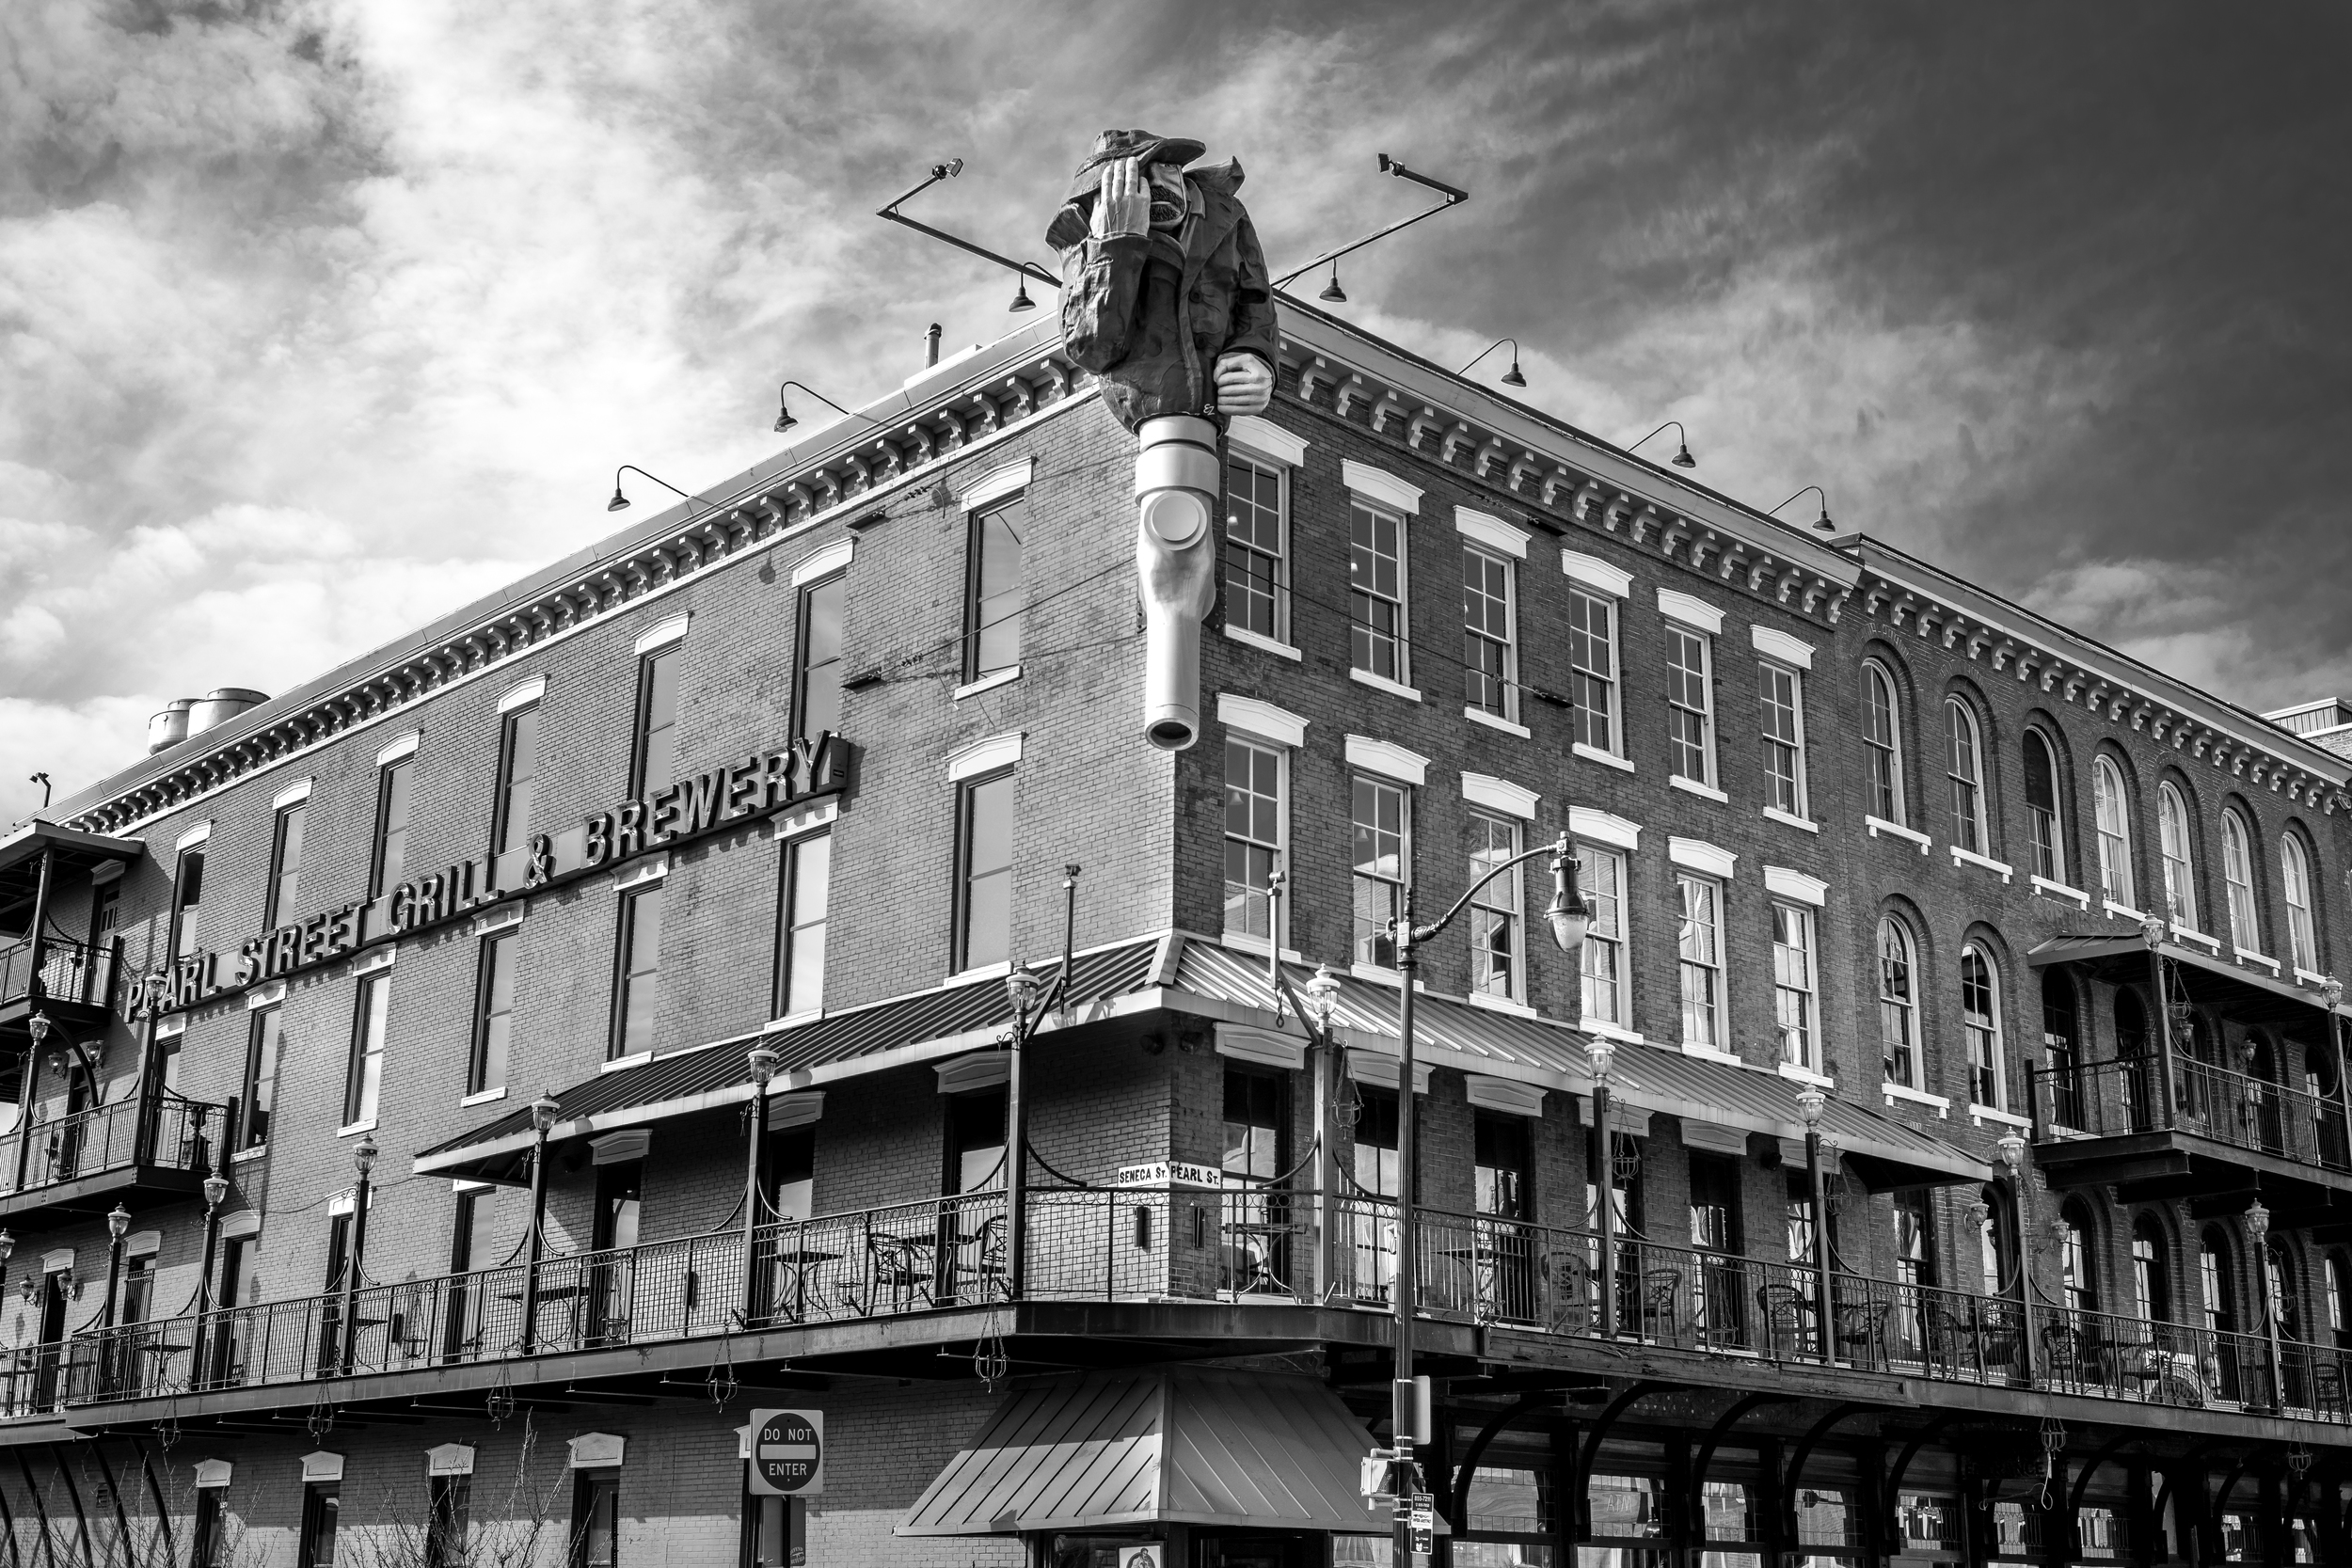
X-T3 + XF 50mm f/2 (1/420, f/2.2, ISO 160) - Edited in Lightroom
Looking through metadata, the X-T20 lived in my bag longer than any other camera. As much as my interest is in the act of taking photographs and learning new techniques, I can be extremely susceptible to gear acquisition syndrome whether it be camera related, watches, pocket knives, computers, or televisions. I began to get the itch for a new piece of equipment, specifically a camera body. As my subjects began to change from landscapes to my son, my technique shifted from more methodical, slow paced shooting often on tripod to more handheld, run-and-gun style shooting. I also realized that the lighting in my house is fairly poor by design, as my wife does not like bright bulbs, which resulted in a poor keeper rate when using my X-T20 due to hunting and slow focus acquisition. I considered switching back to Sony when I heard the specs of the A7R IV announced, but then reason set in and I remembered my budget. If budget was not a consideration, I still would have stayed with Fuji because my time with an X-T20 as my sole camera reminded me how much I appreciate the Fuji dials and aperture rings on the lenses and I wanted to have two bodies and I do not want to deal with multiple lens systems nor did I want to invest the effort in selling my gear.
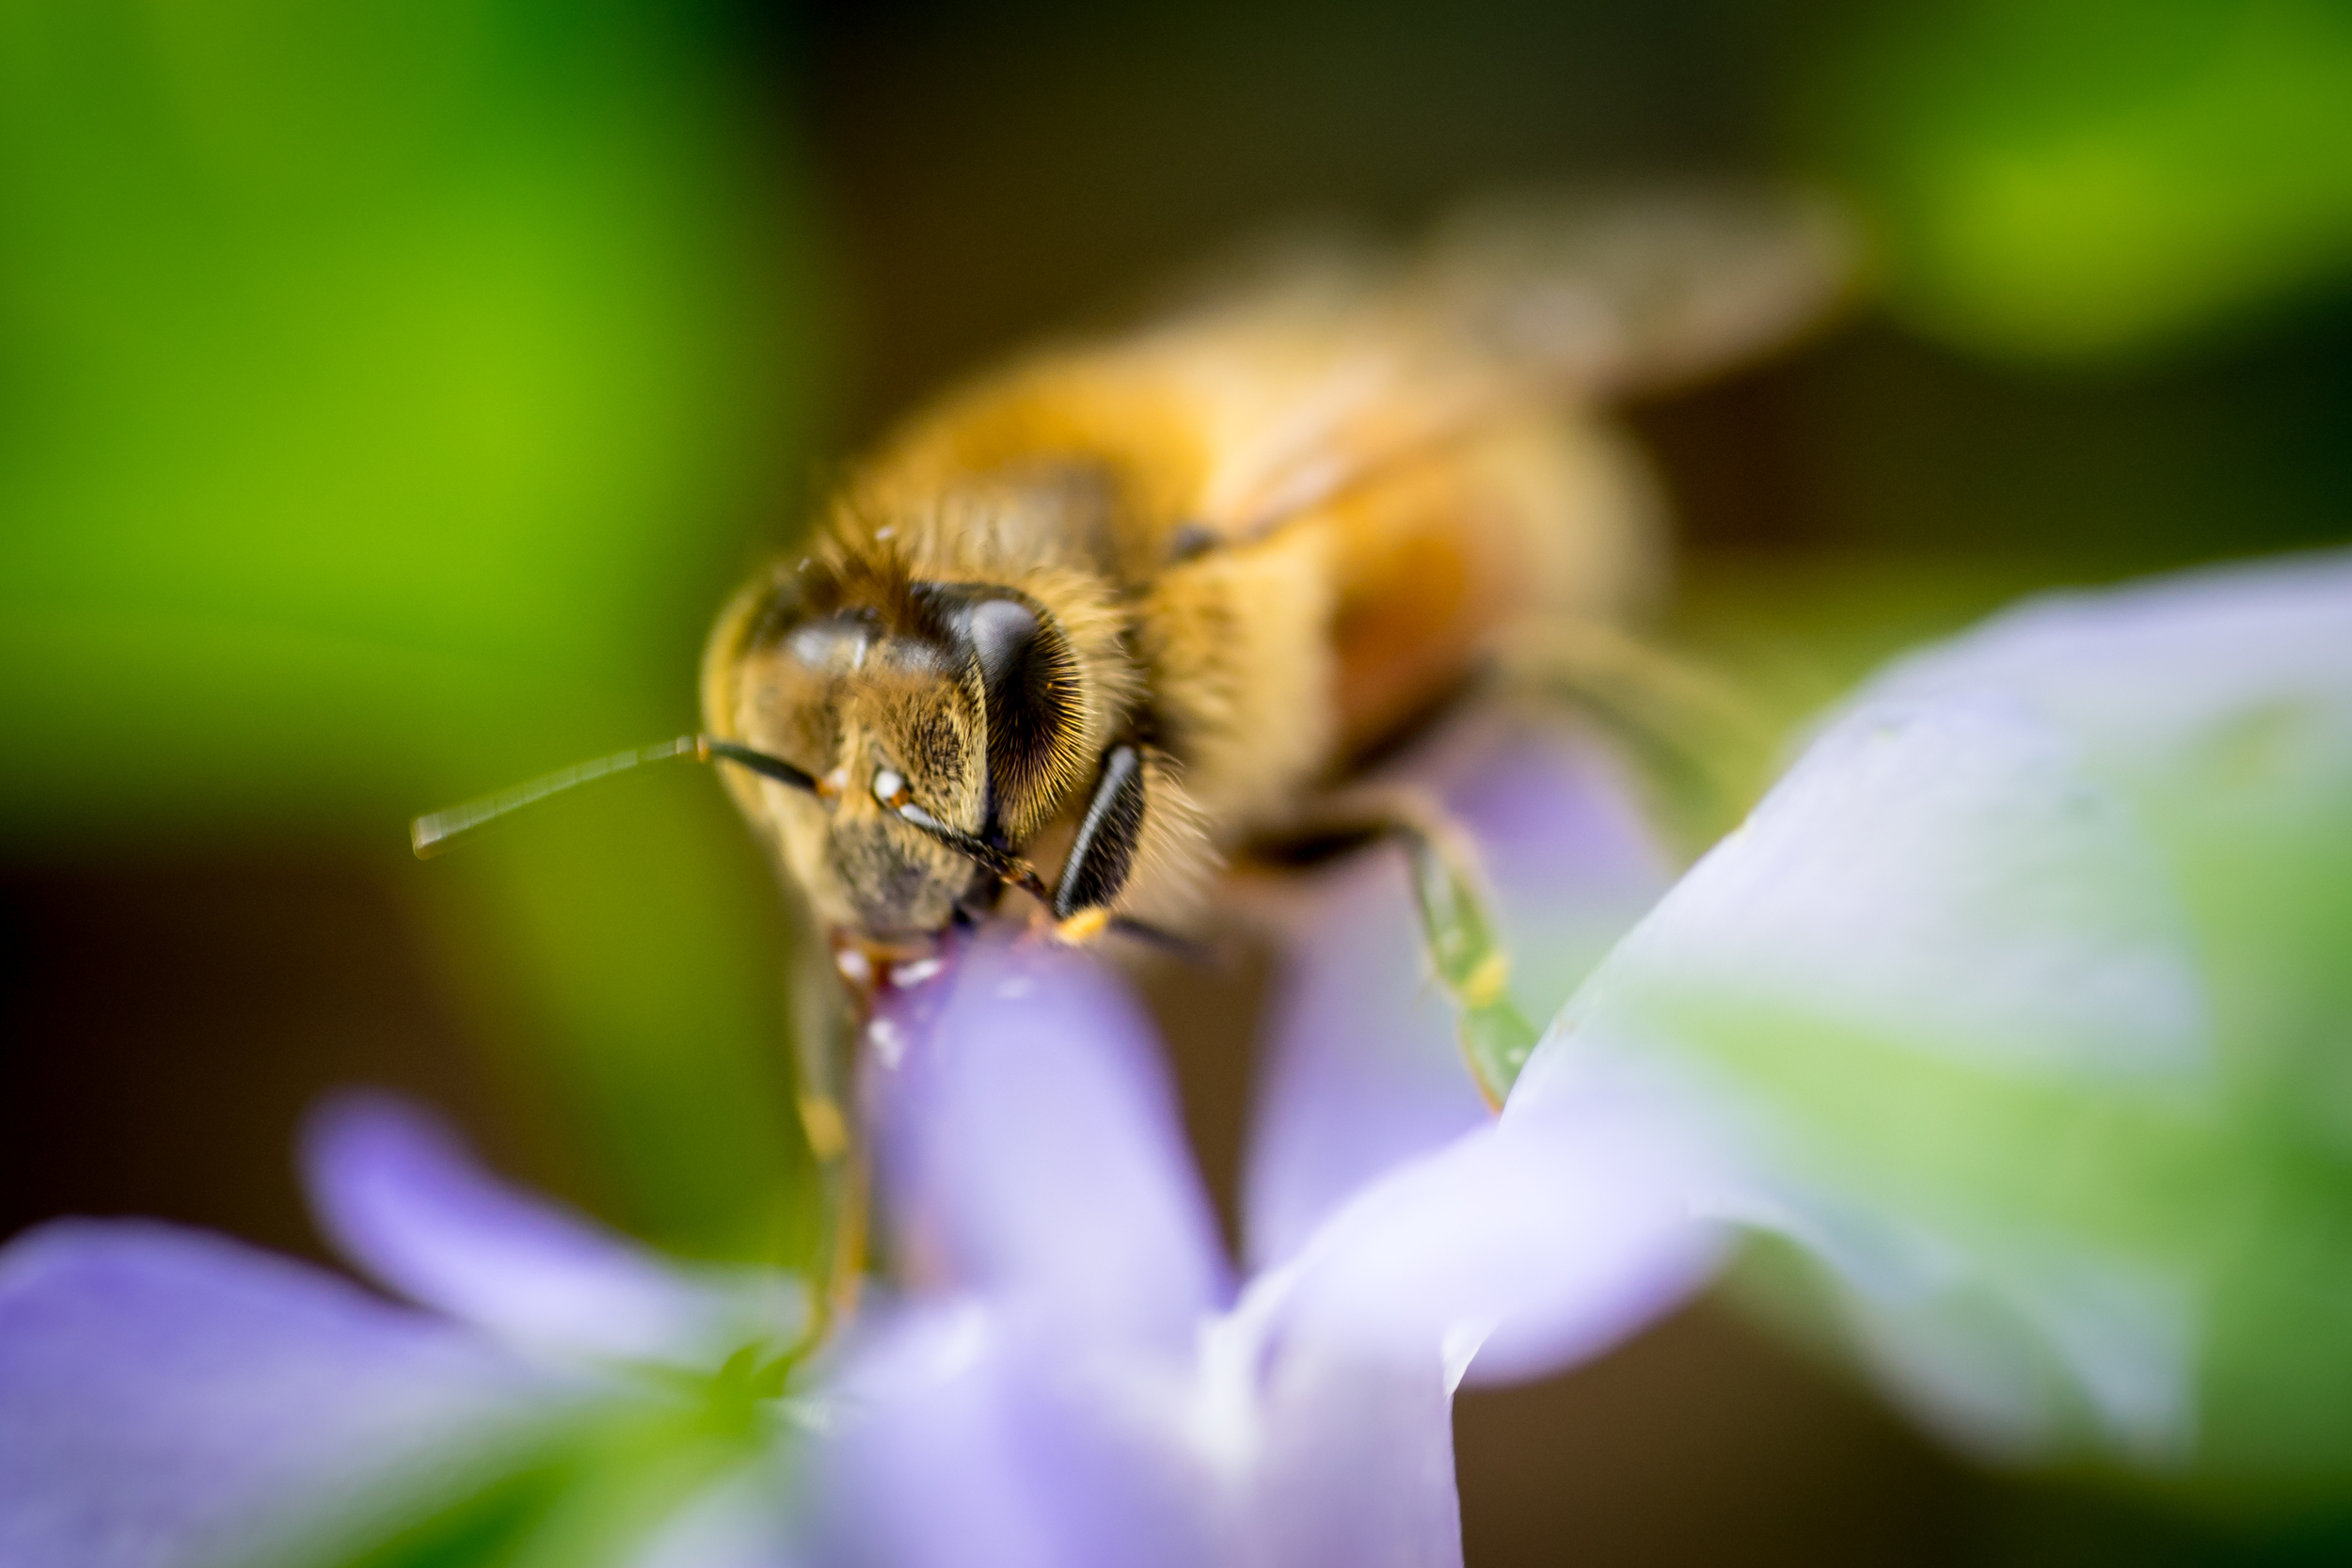
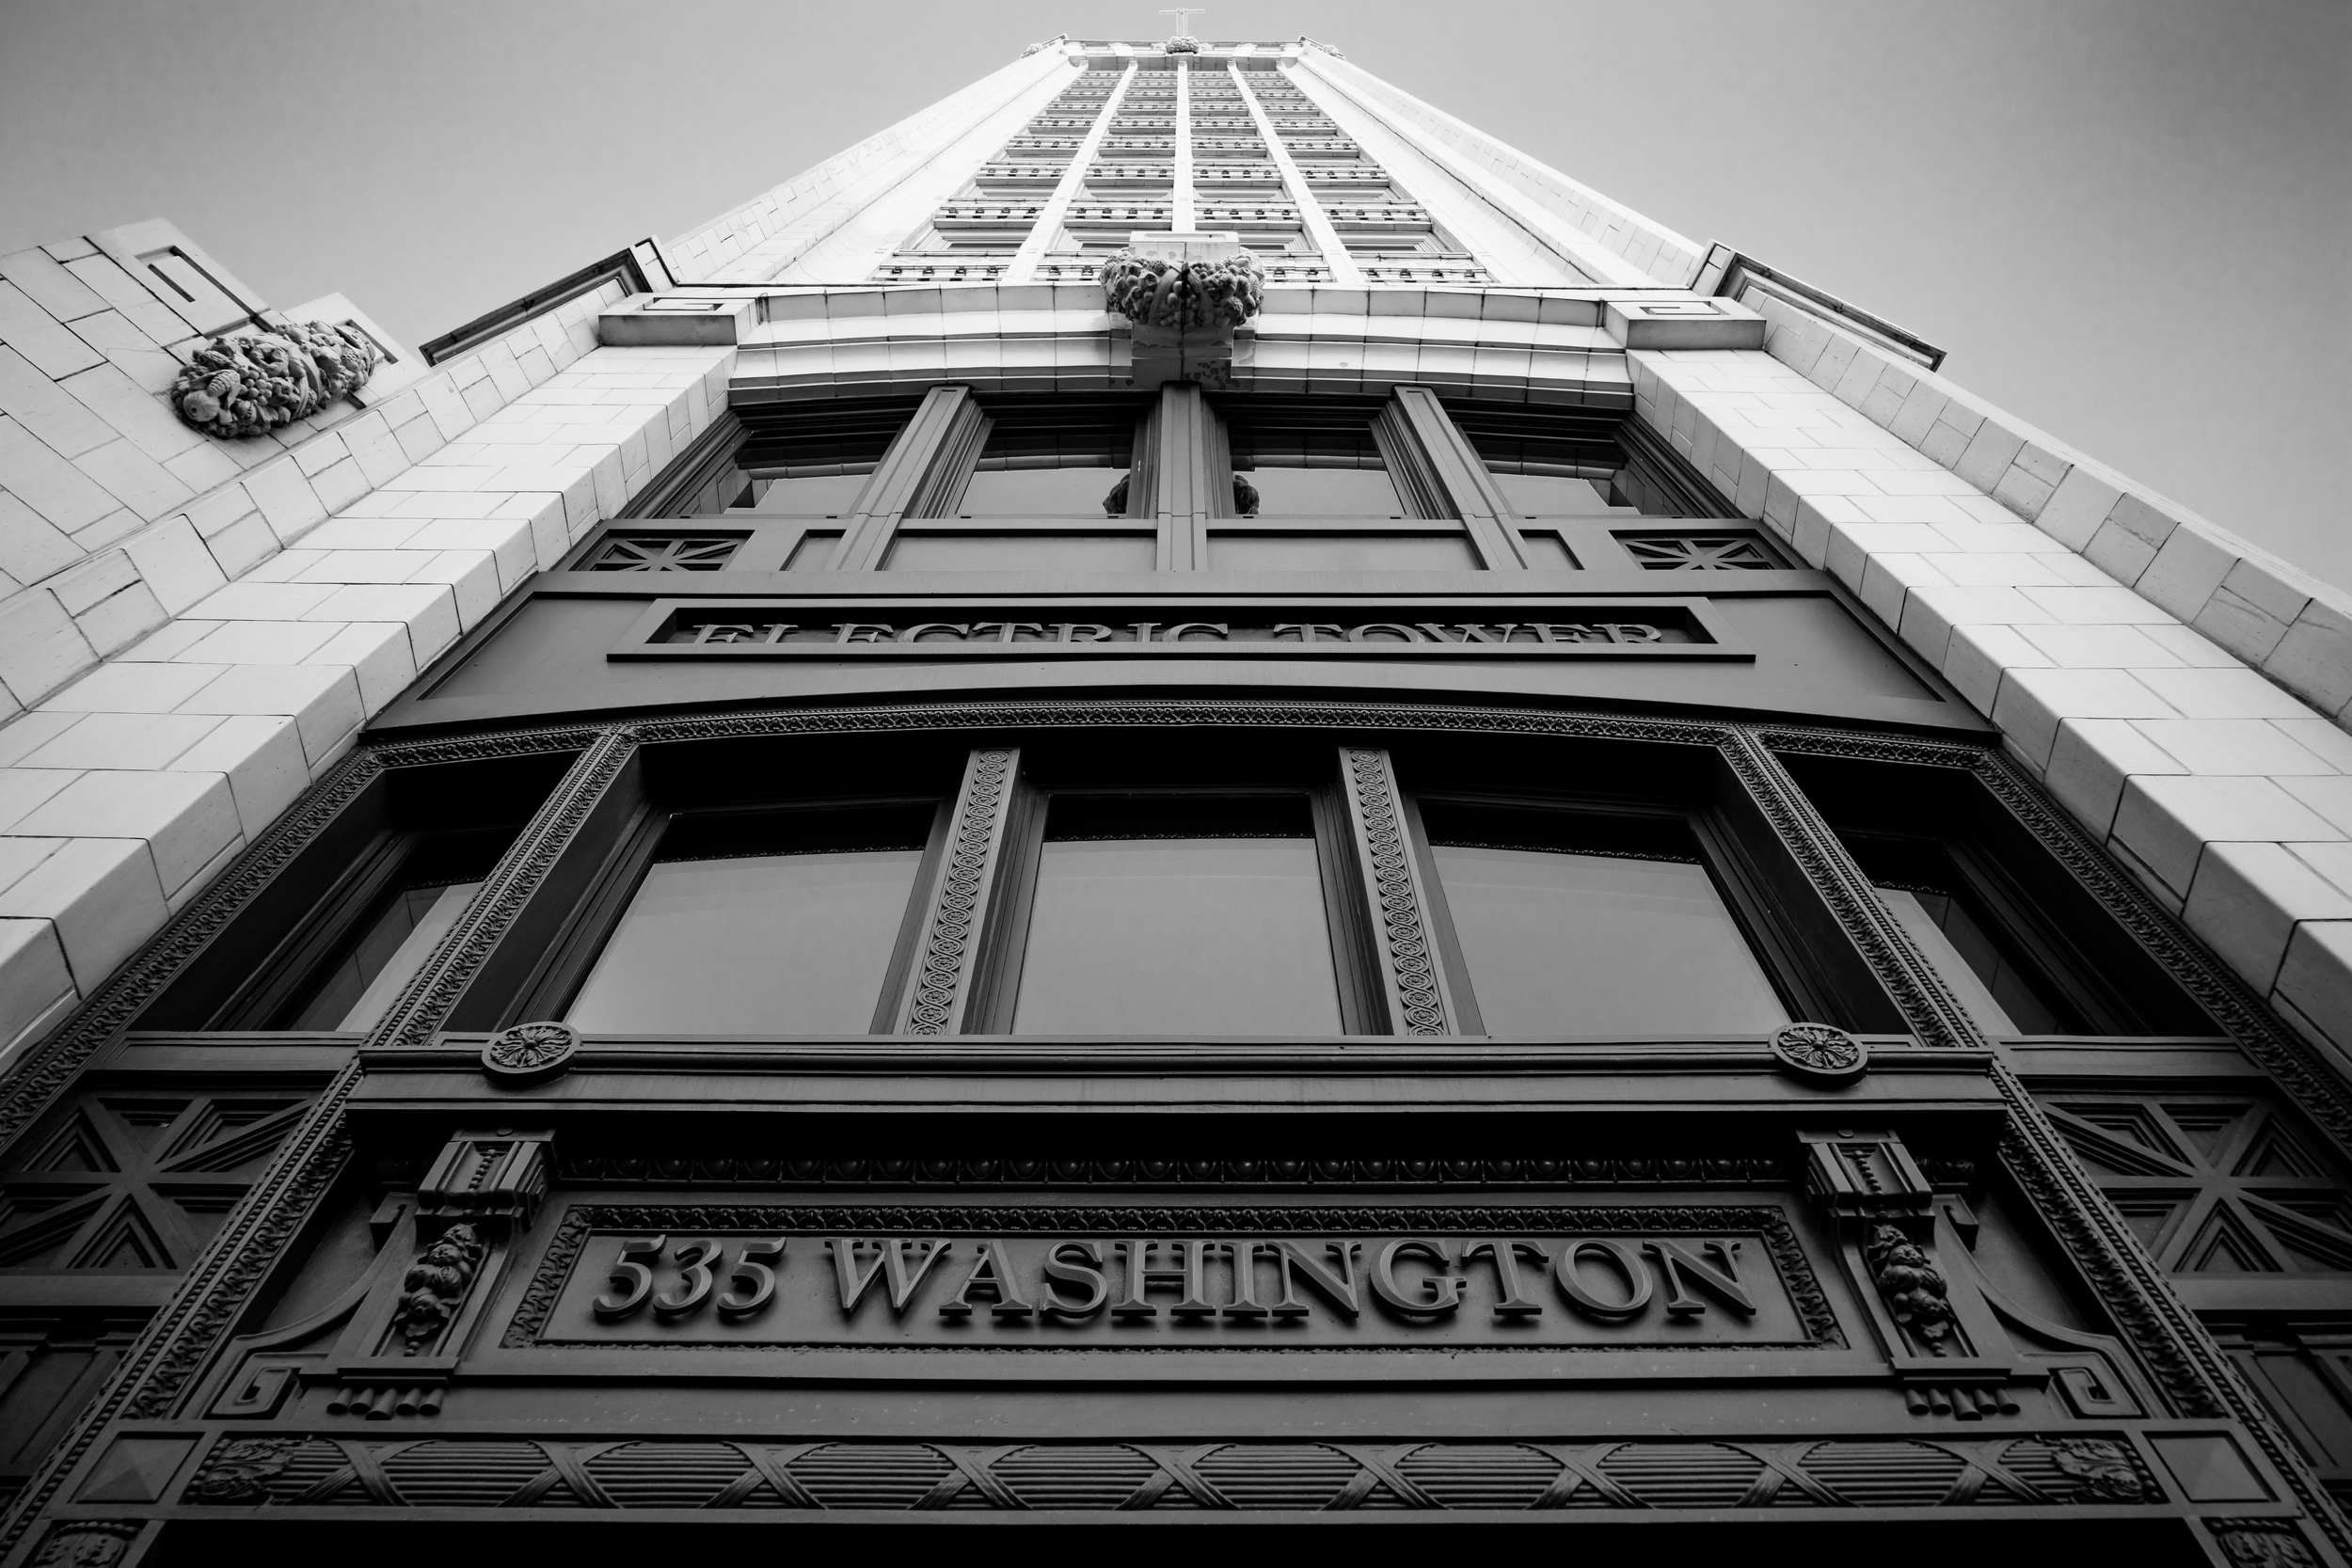
X-T3 + XF 50mm f/2 (1/100, f/2.2, ISO 160) - Edited in Lightroom
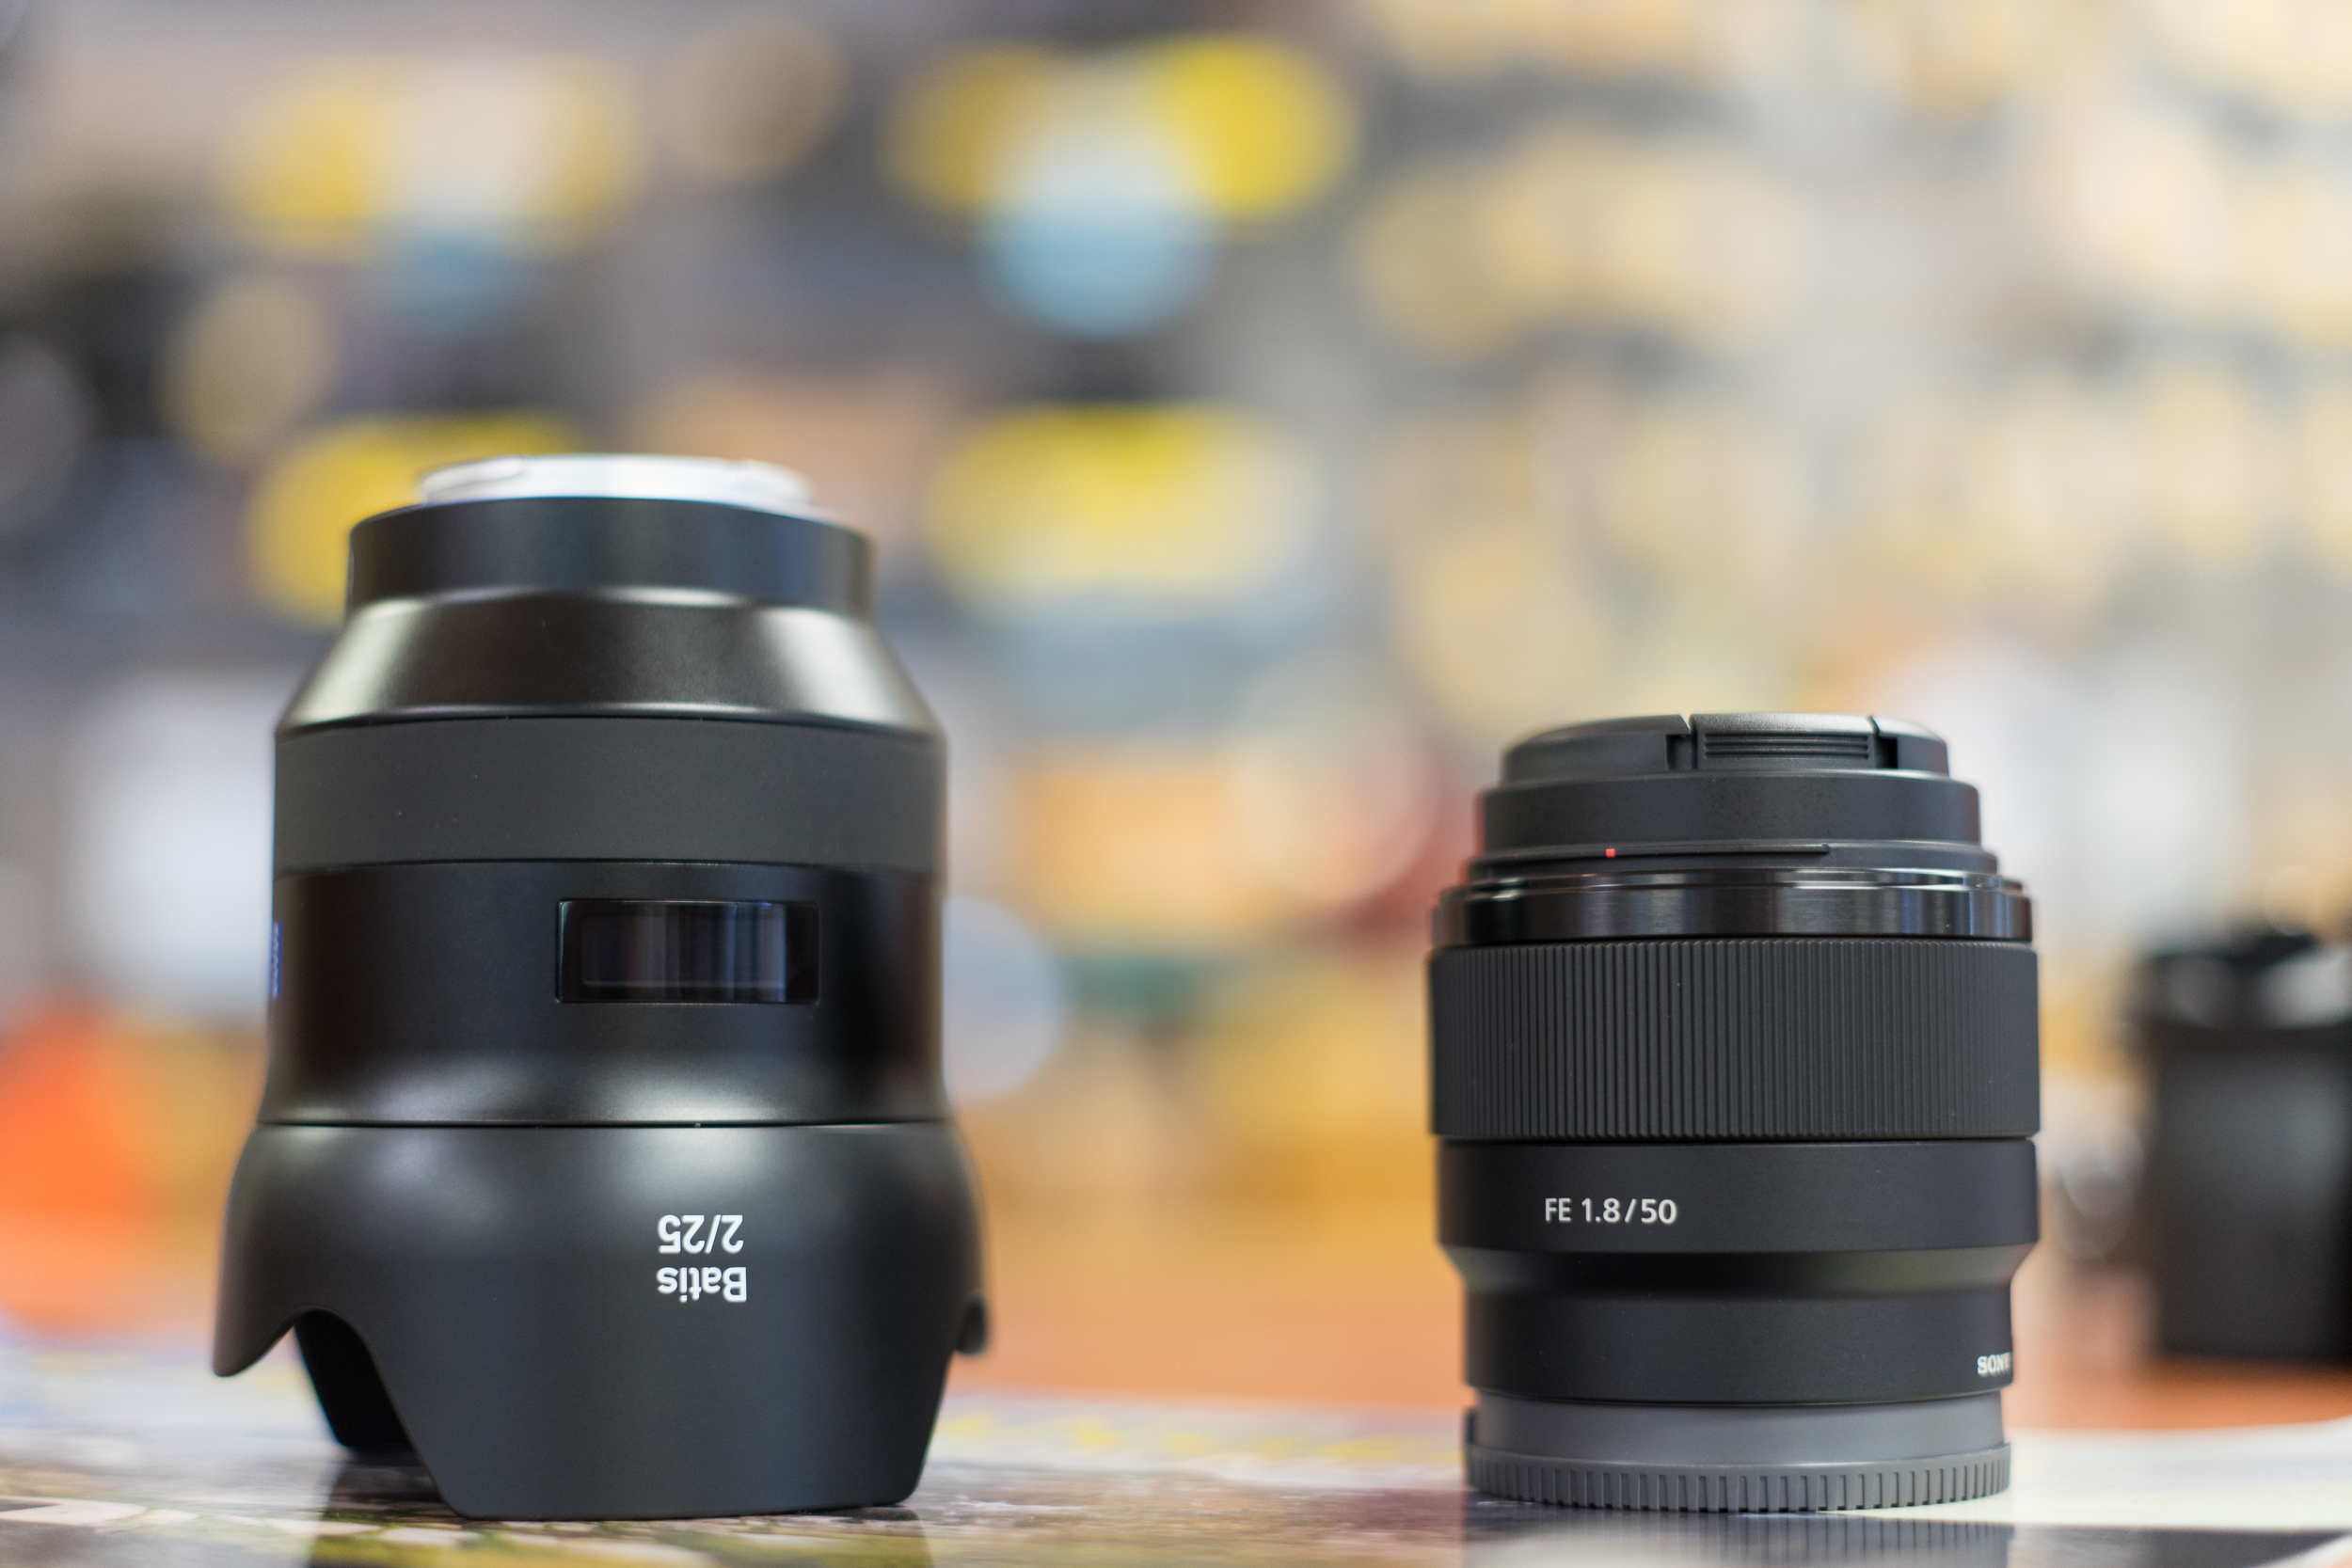
On the subject of lenses, I have always appreciated the quality, size, and offerings that exists in the Fuji ecosystem. My current selection of lenses is modest, but serviceable for my non-professional needs. The XF 18-55mm f/2.8-4 “kit lens” offers great value and has lived on my camera for many of my favorite trips. I had gotten this lens with my X-E2 and quickly sold it; a decision that I had always regretted during my ownership of that camera. The 18-55 is a great lens, however the aperture can be limiting for subject isolation in tight areas and light gathering abilities indoors, so I added a XF 50mm f/2 to my kit. While the 56mm f/1.2 is something I think about frequently, the cost, focusing speed, size, and weight keep me happy with the 50mm. My final lens, the XF 35mm f/1.4, is another repurchase from the time that I owned the X-E3 prior to the A7II. For me, this is one of my favorite ~50mm equivalent lenses that I have shot with. The Sigma 50mm Art rendered beautiful images, but it was just too heavy and I have taken several of my favorite pictures with the Zeiss Loxia 50mm, but not having autofocus makes it a niche offering in today’s marketplace. The Fuji 35mm f/1.4 really offers a great all around balance, however I would really appreciate if they could update it to be quiet, faster focusing, and not focus externally without sacrificing the optical qualities.

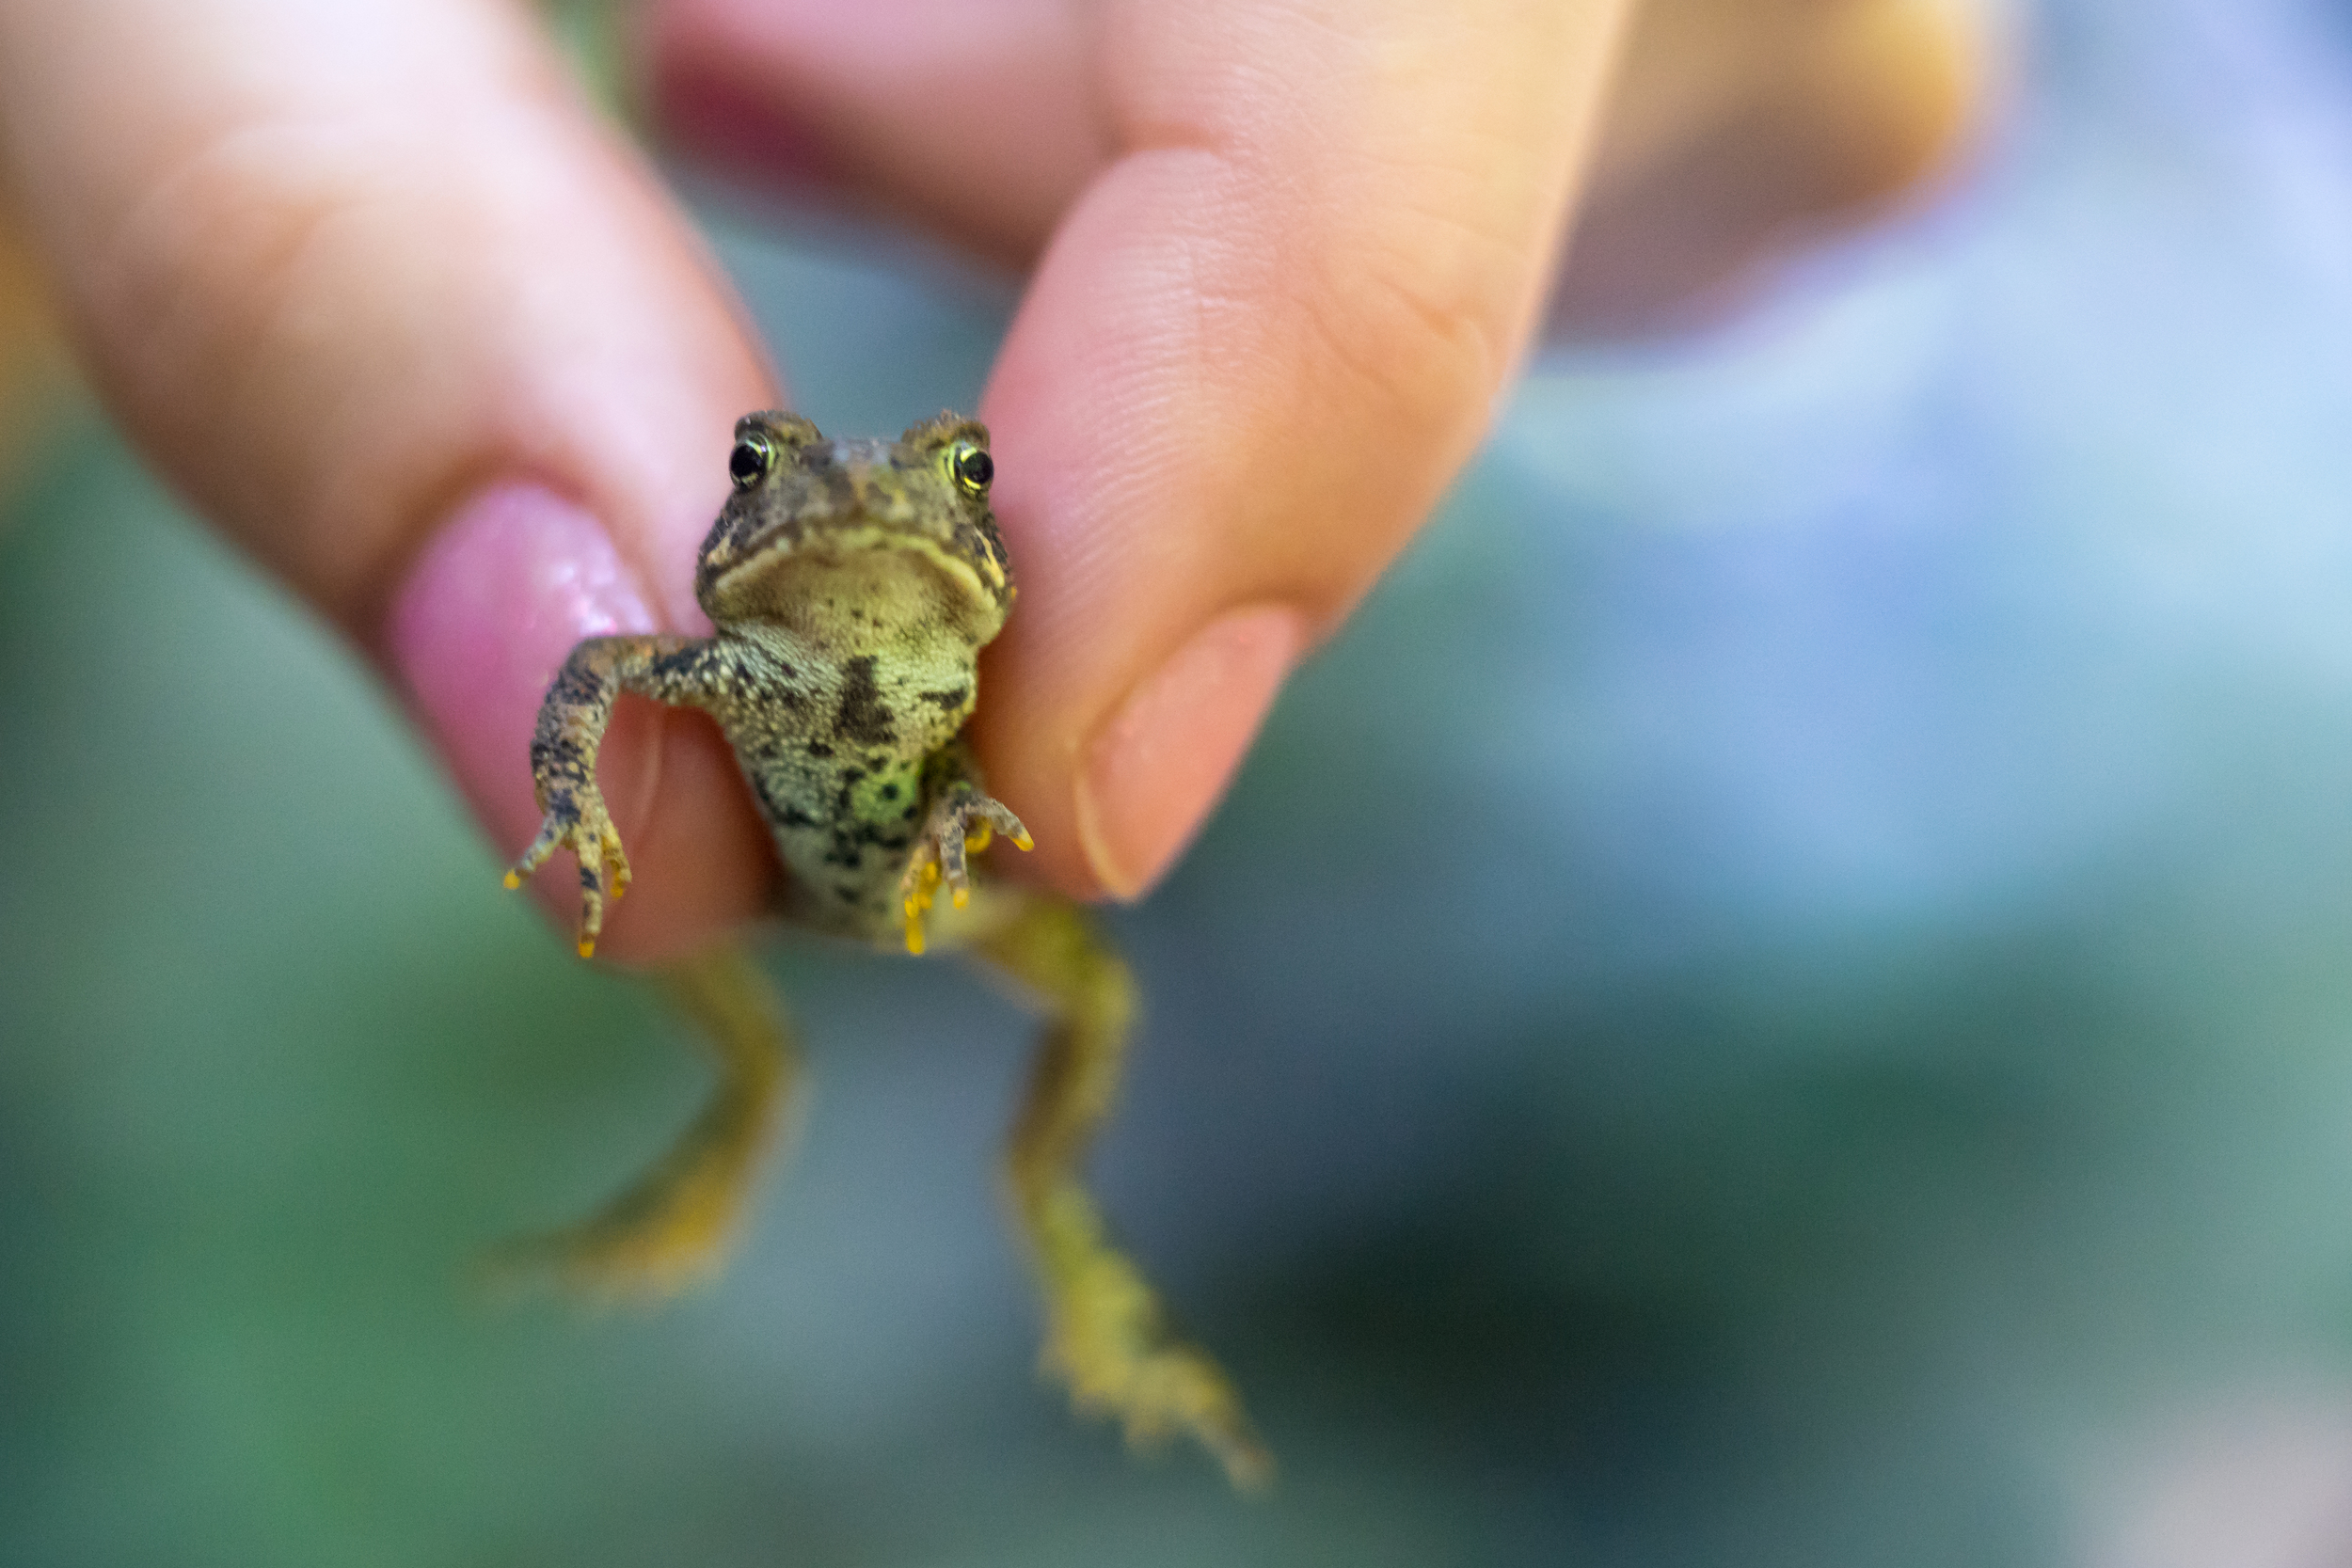
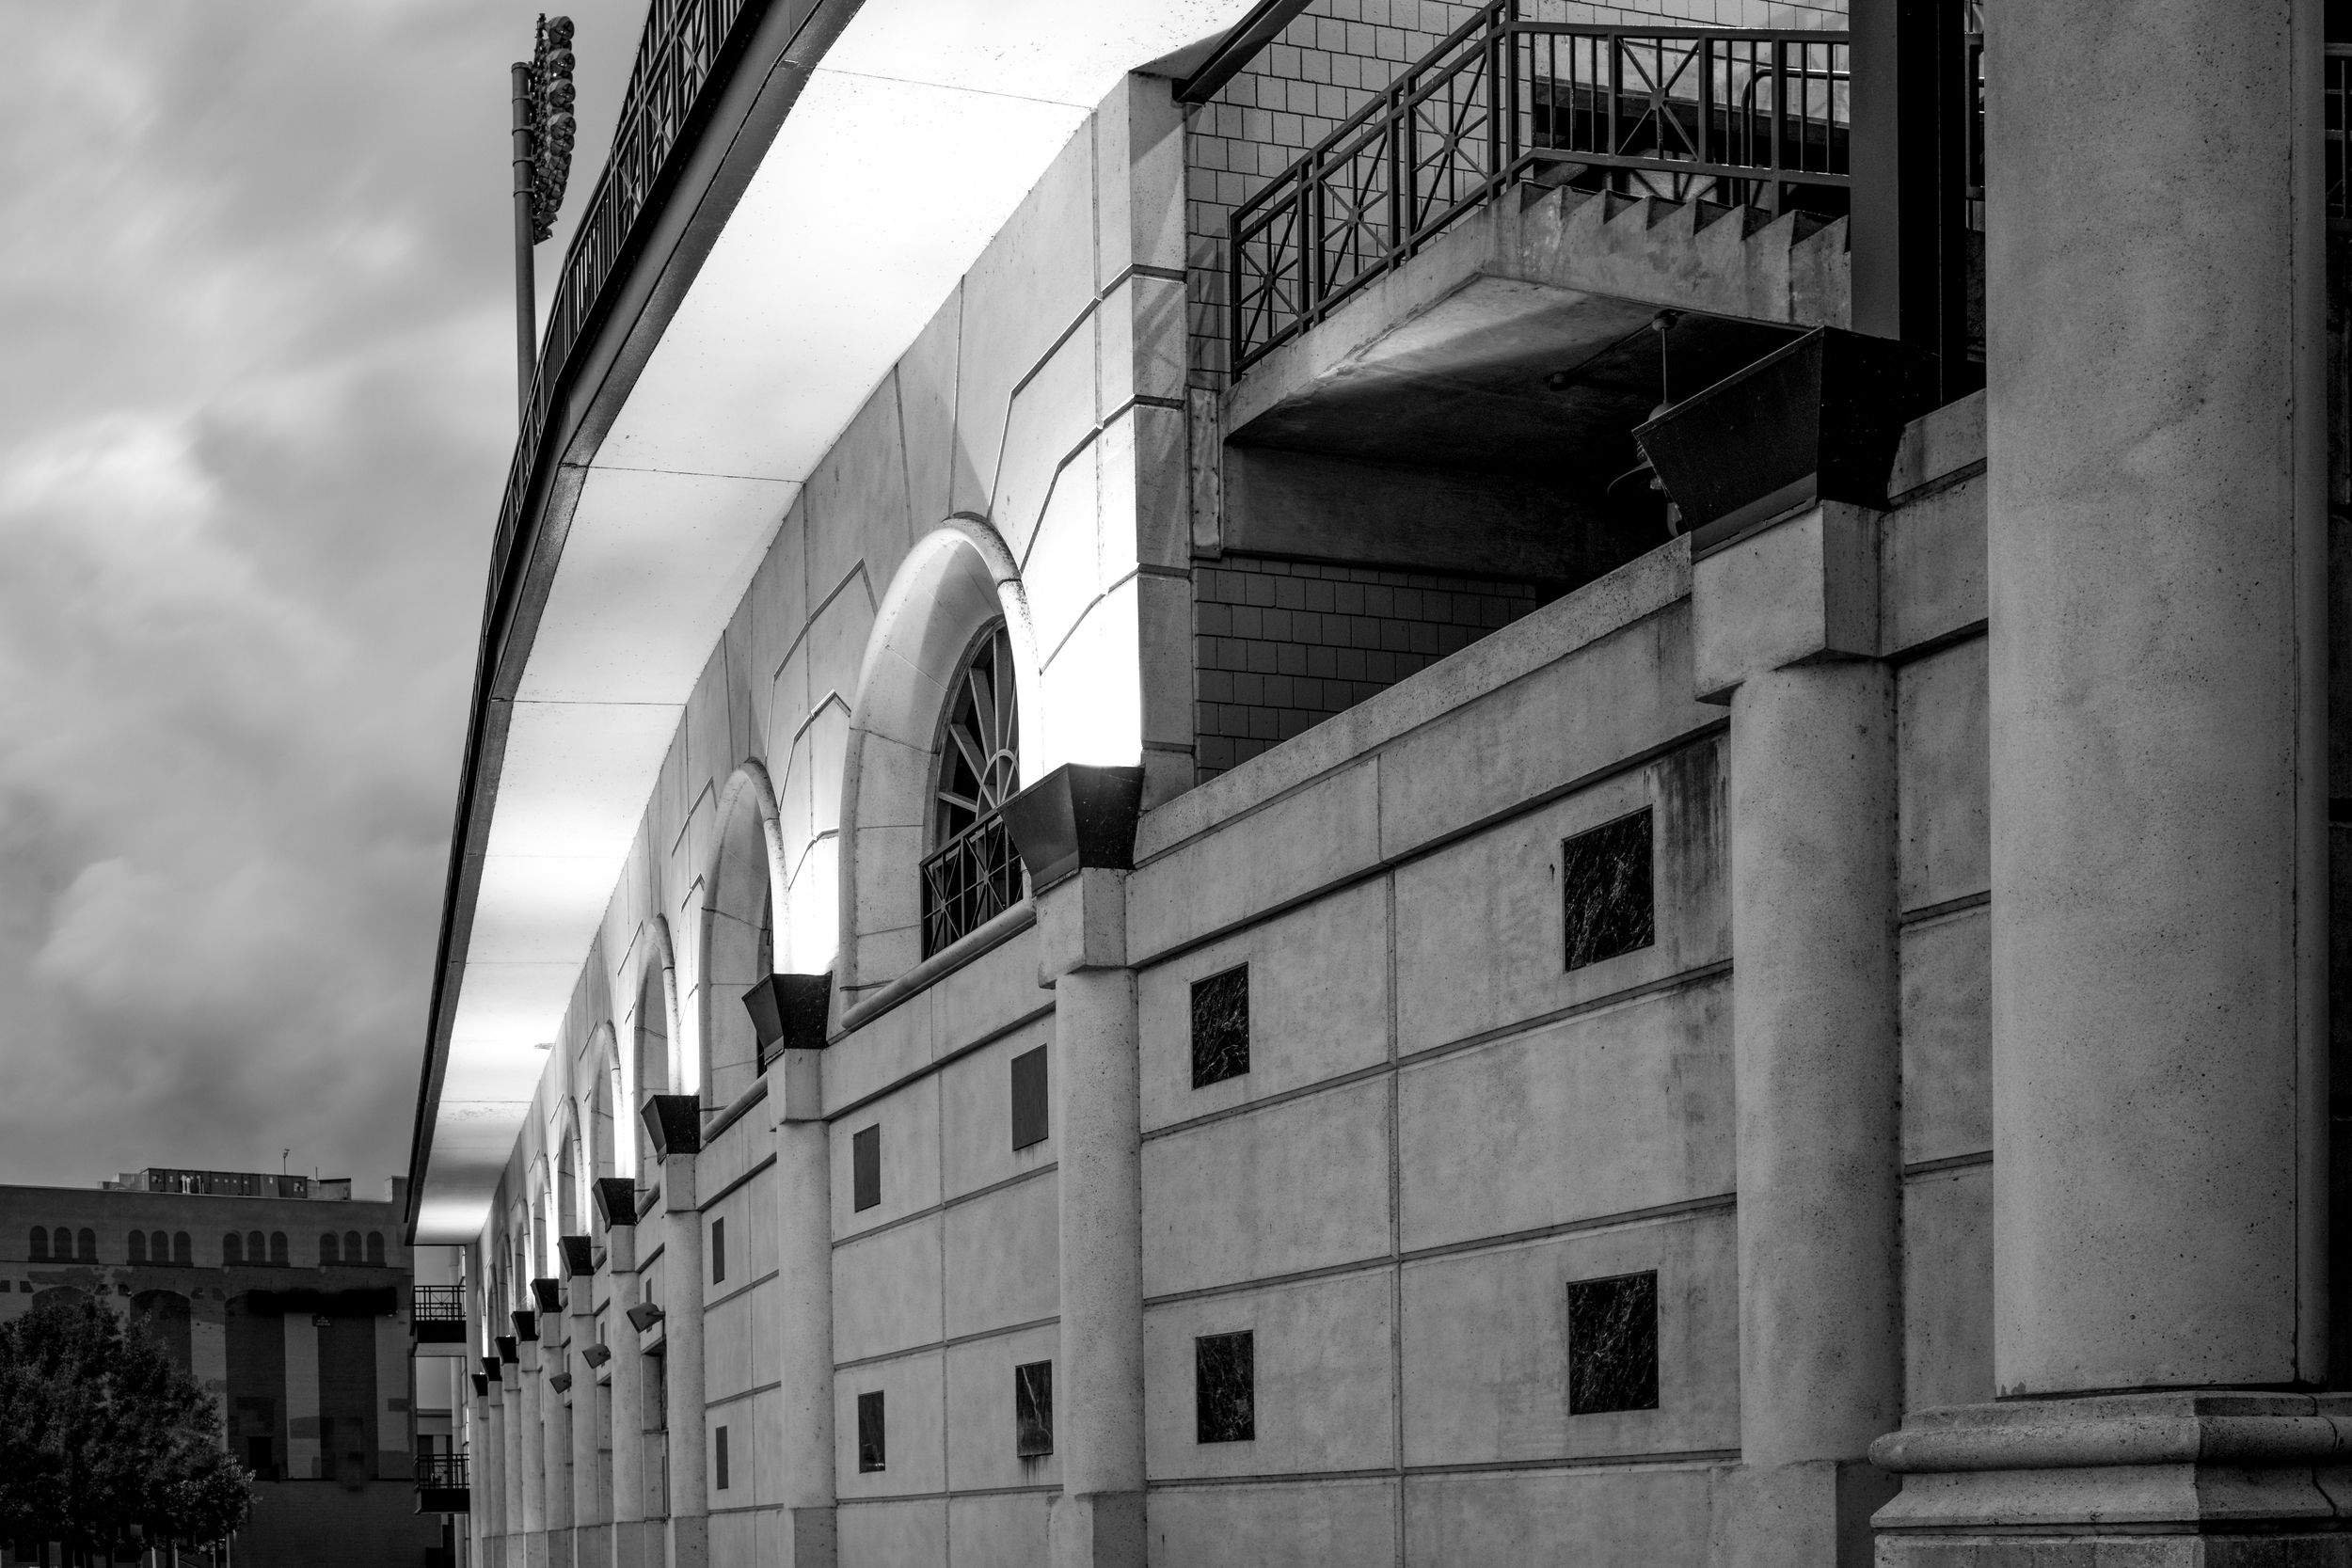
X-T3 + XF 35mm f/1.4 (1/125, f/1.4, ISO 160) - Edited in Lightroom
The intent of this post is to discuss the X-T3, but I have done a good job of discussing a wide array of other gear while hardly mentioning the main subject. Before I briefly stray off topic again, the reason I decided to upgrade and add the X-T3 was for the autofocus upgrade which seem to be more significant than what many reviews acknowledge. Okay now to switch back to the X-T20 and the XF 35mm f/1.4. In reviewing my photographs, I was ready to sell this lens as I believed that I had a bad copy. In comparing portraits taken with the 35mm to the 50mm, the 50mm was UNBELIEVABLY sharper. Again, so much so that I had thought my 35mm was a bad copy. Looking more critically I determined that it was a focus issue and not a lens issue. Yes, I ensured that all firmware was updated to the latest versions. Mounting the 35mm f/1.4 to the X-T3 I get sharp images wide open at f/1.4, and when I say sharp I mean great iris detail zoomed in 3:1. The faster motor in the 50mm combined with the more forgiving f/2 aperture was serviceable on the X-T20, often nailing the focus, but I am not sure if I every truly got an in focus shot with the 35mm. To clarify I primarily use continuous autofocus with eye detect when shooting shallow depth of field portraits.

X-T3 + XF 35mm F/1.4 (1/480, f/1.6, ISO 160) - Very minor import edit in Lightroom
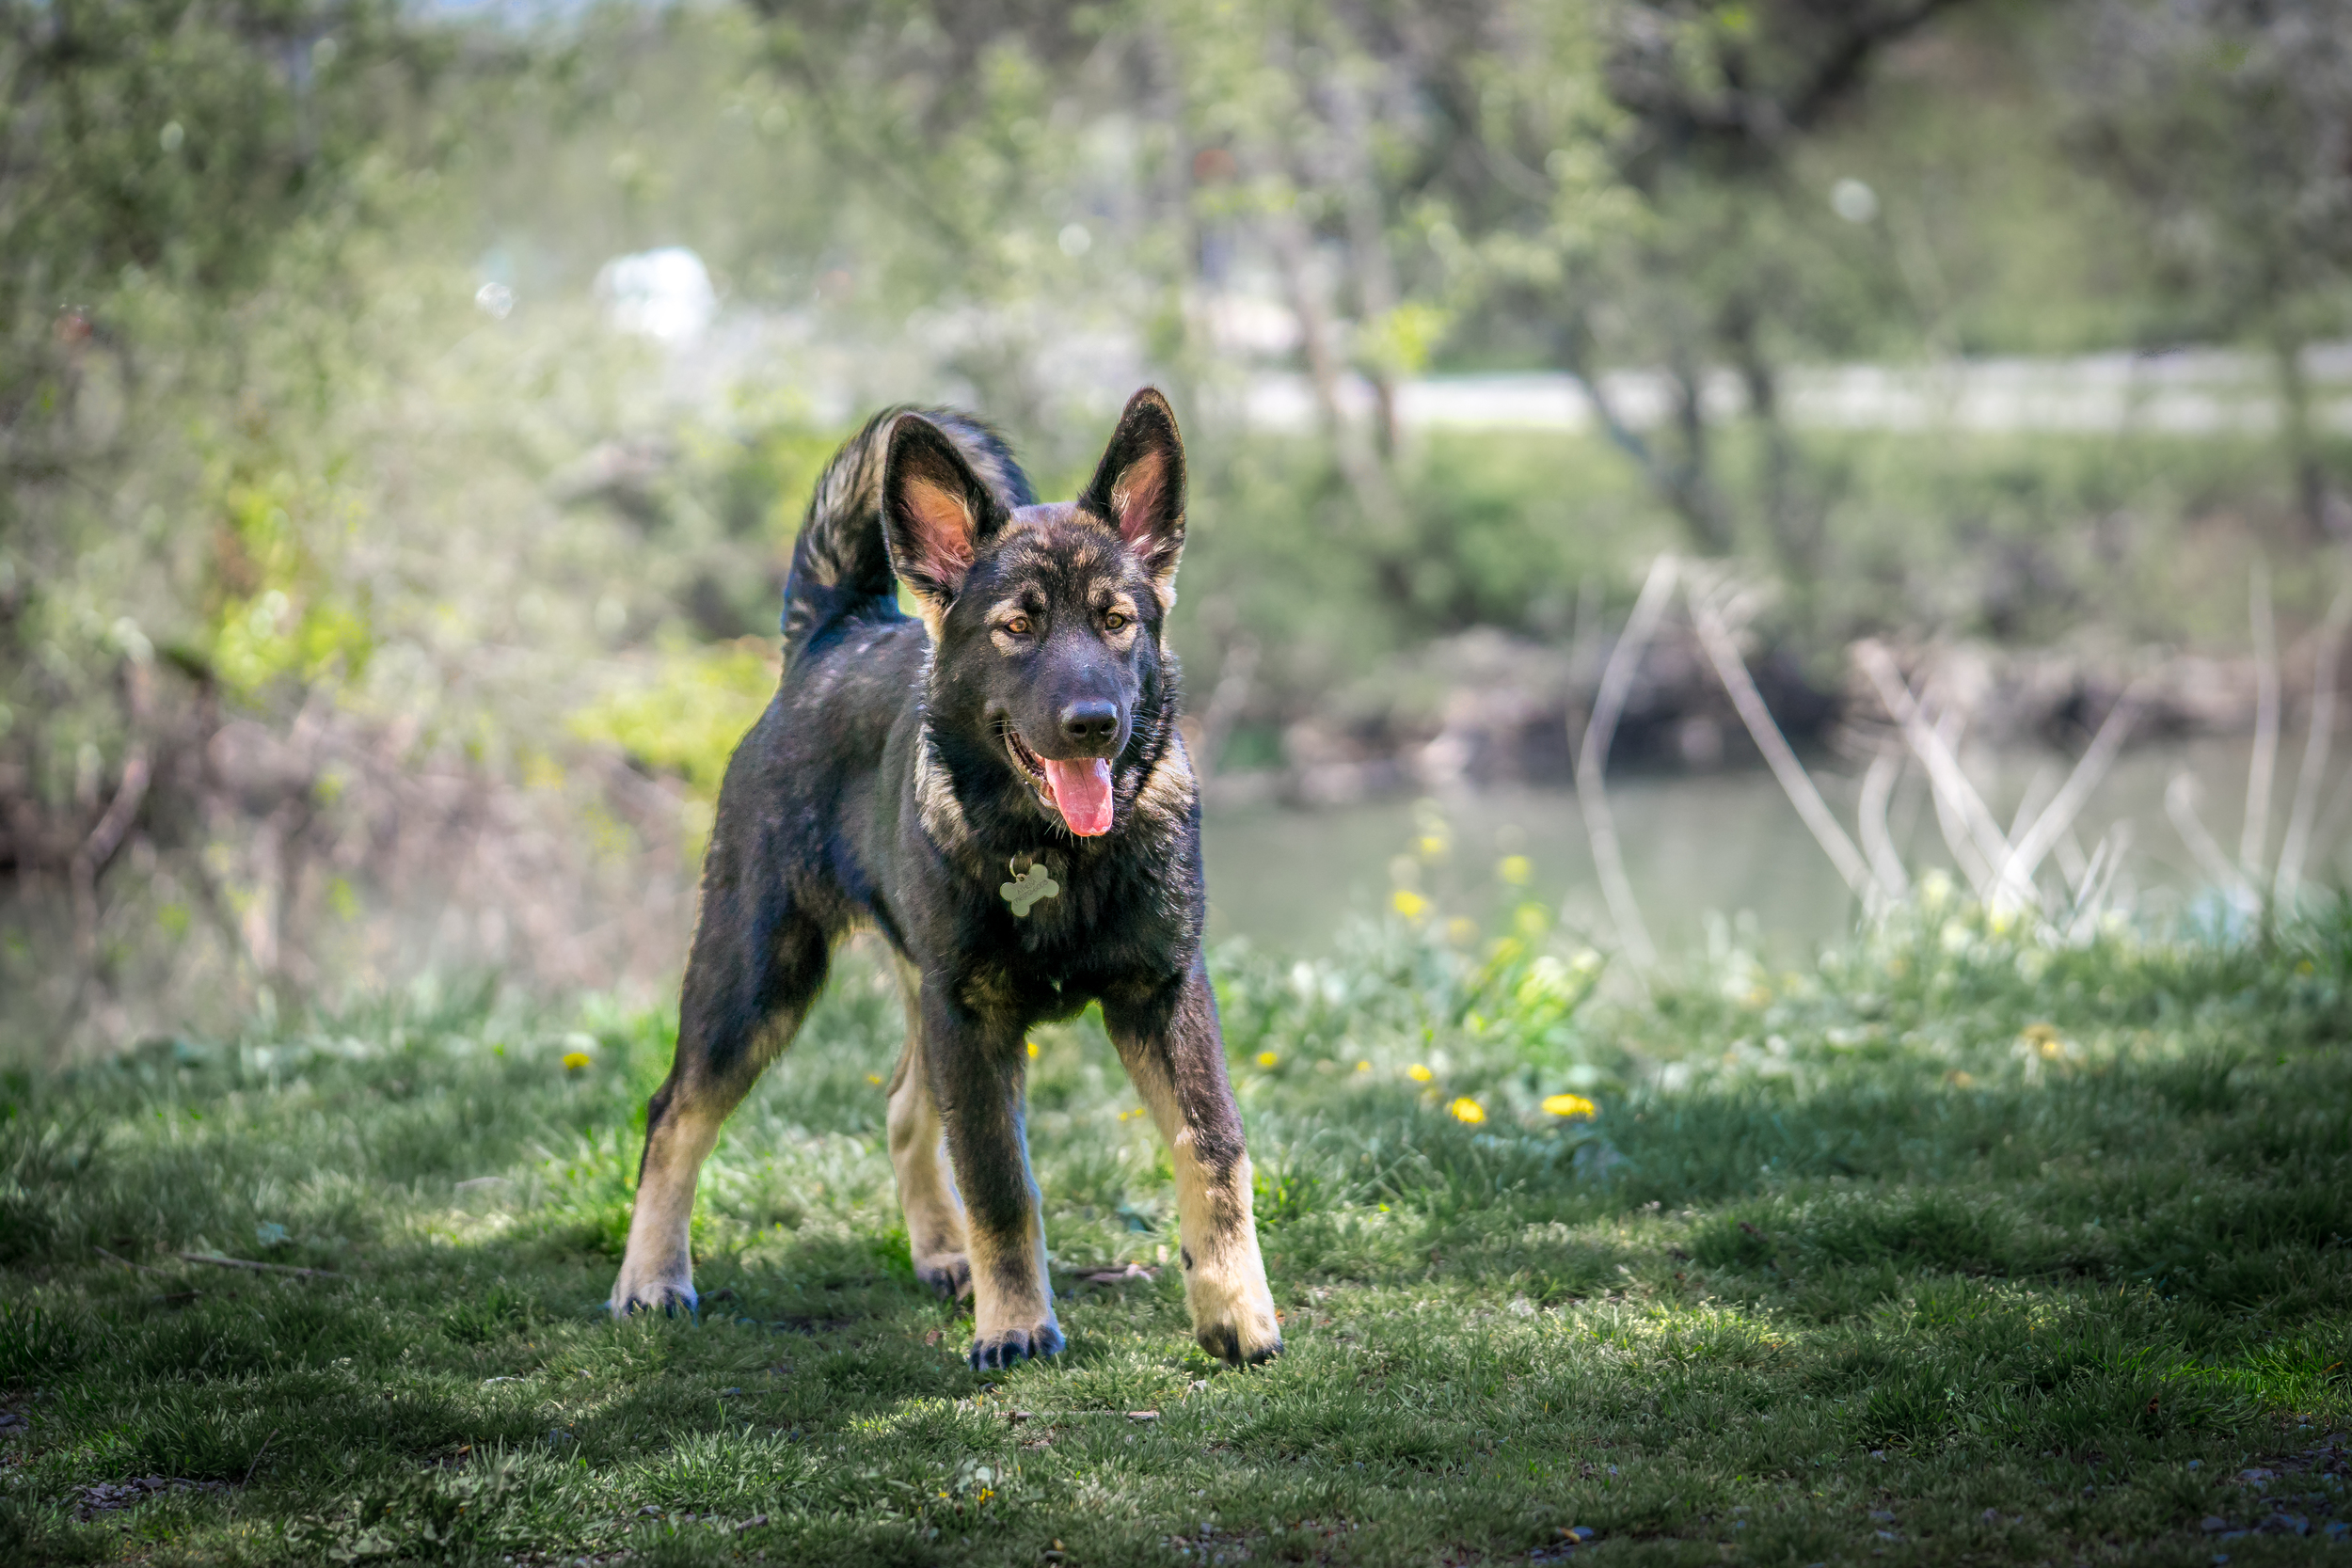
Besides the autofocus speed improvements, I really enjoy the better viewfinder, lower base ISO, ergonomics, speed, dual card slots, and locking dials. These are all incremental changes that would not have sold me on parting with asking price, which I waited for the seasonal Fujifilm sale. The other major difference that I have always wanted in a camera but never have had is the joystick for changing focus points. I always disliked having to use a multi-button command setup to change my focus points, but historically I never was really missing shots due to brief extra step focus point selection. When my son began to move around more is really the first time I began to miss shots that I regretted missing. Previously I may have been a little disappointed to miss a shot of the dogs, but the disappointment was never strong enough to want to upgrade. The ability to focus to -3 EV is the next major improvement. As I mentioned, interior lighting can be a challenge in my house and the X-T3 low light focusing upgrade makes a tangible difference. Ultimately, I will admit that I just prefer the styling and the tactile experience of operating Fujifilm cameras over the competitors, but if the performance wasn’t also excellent, no amount of design would make up for that.

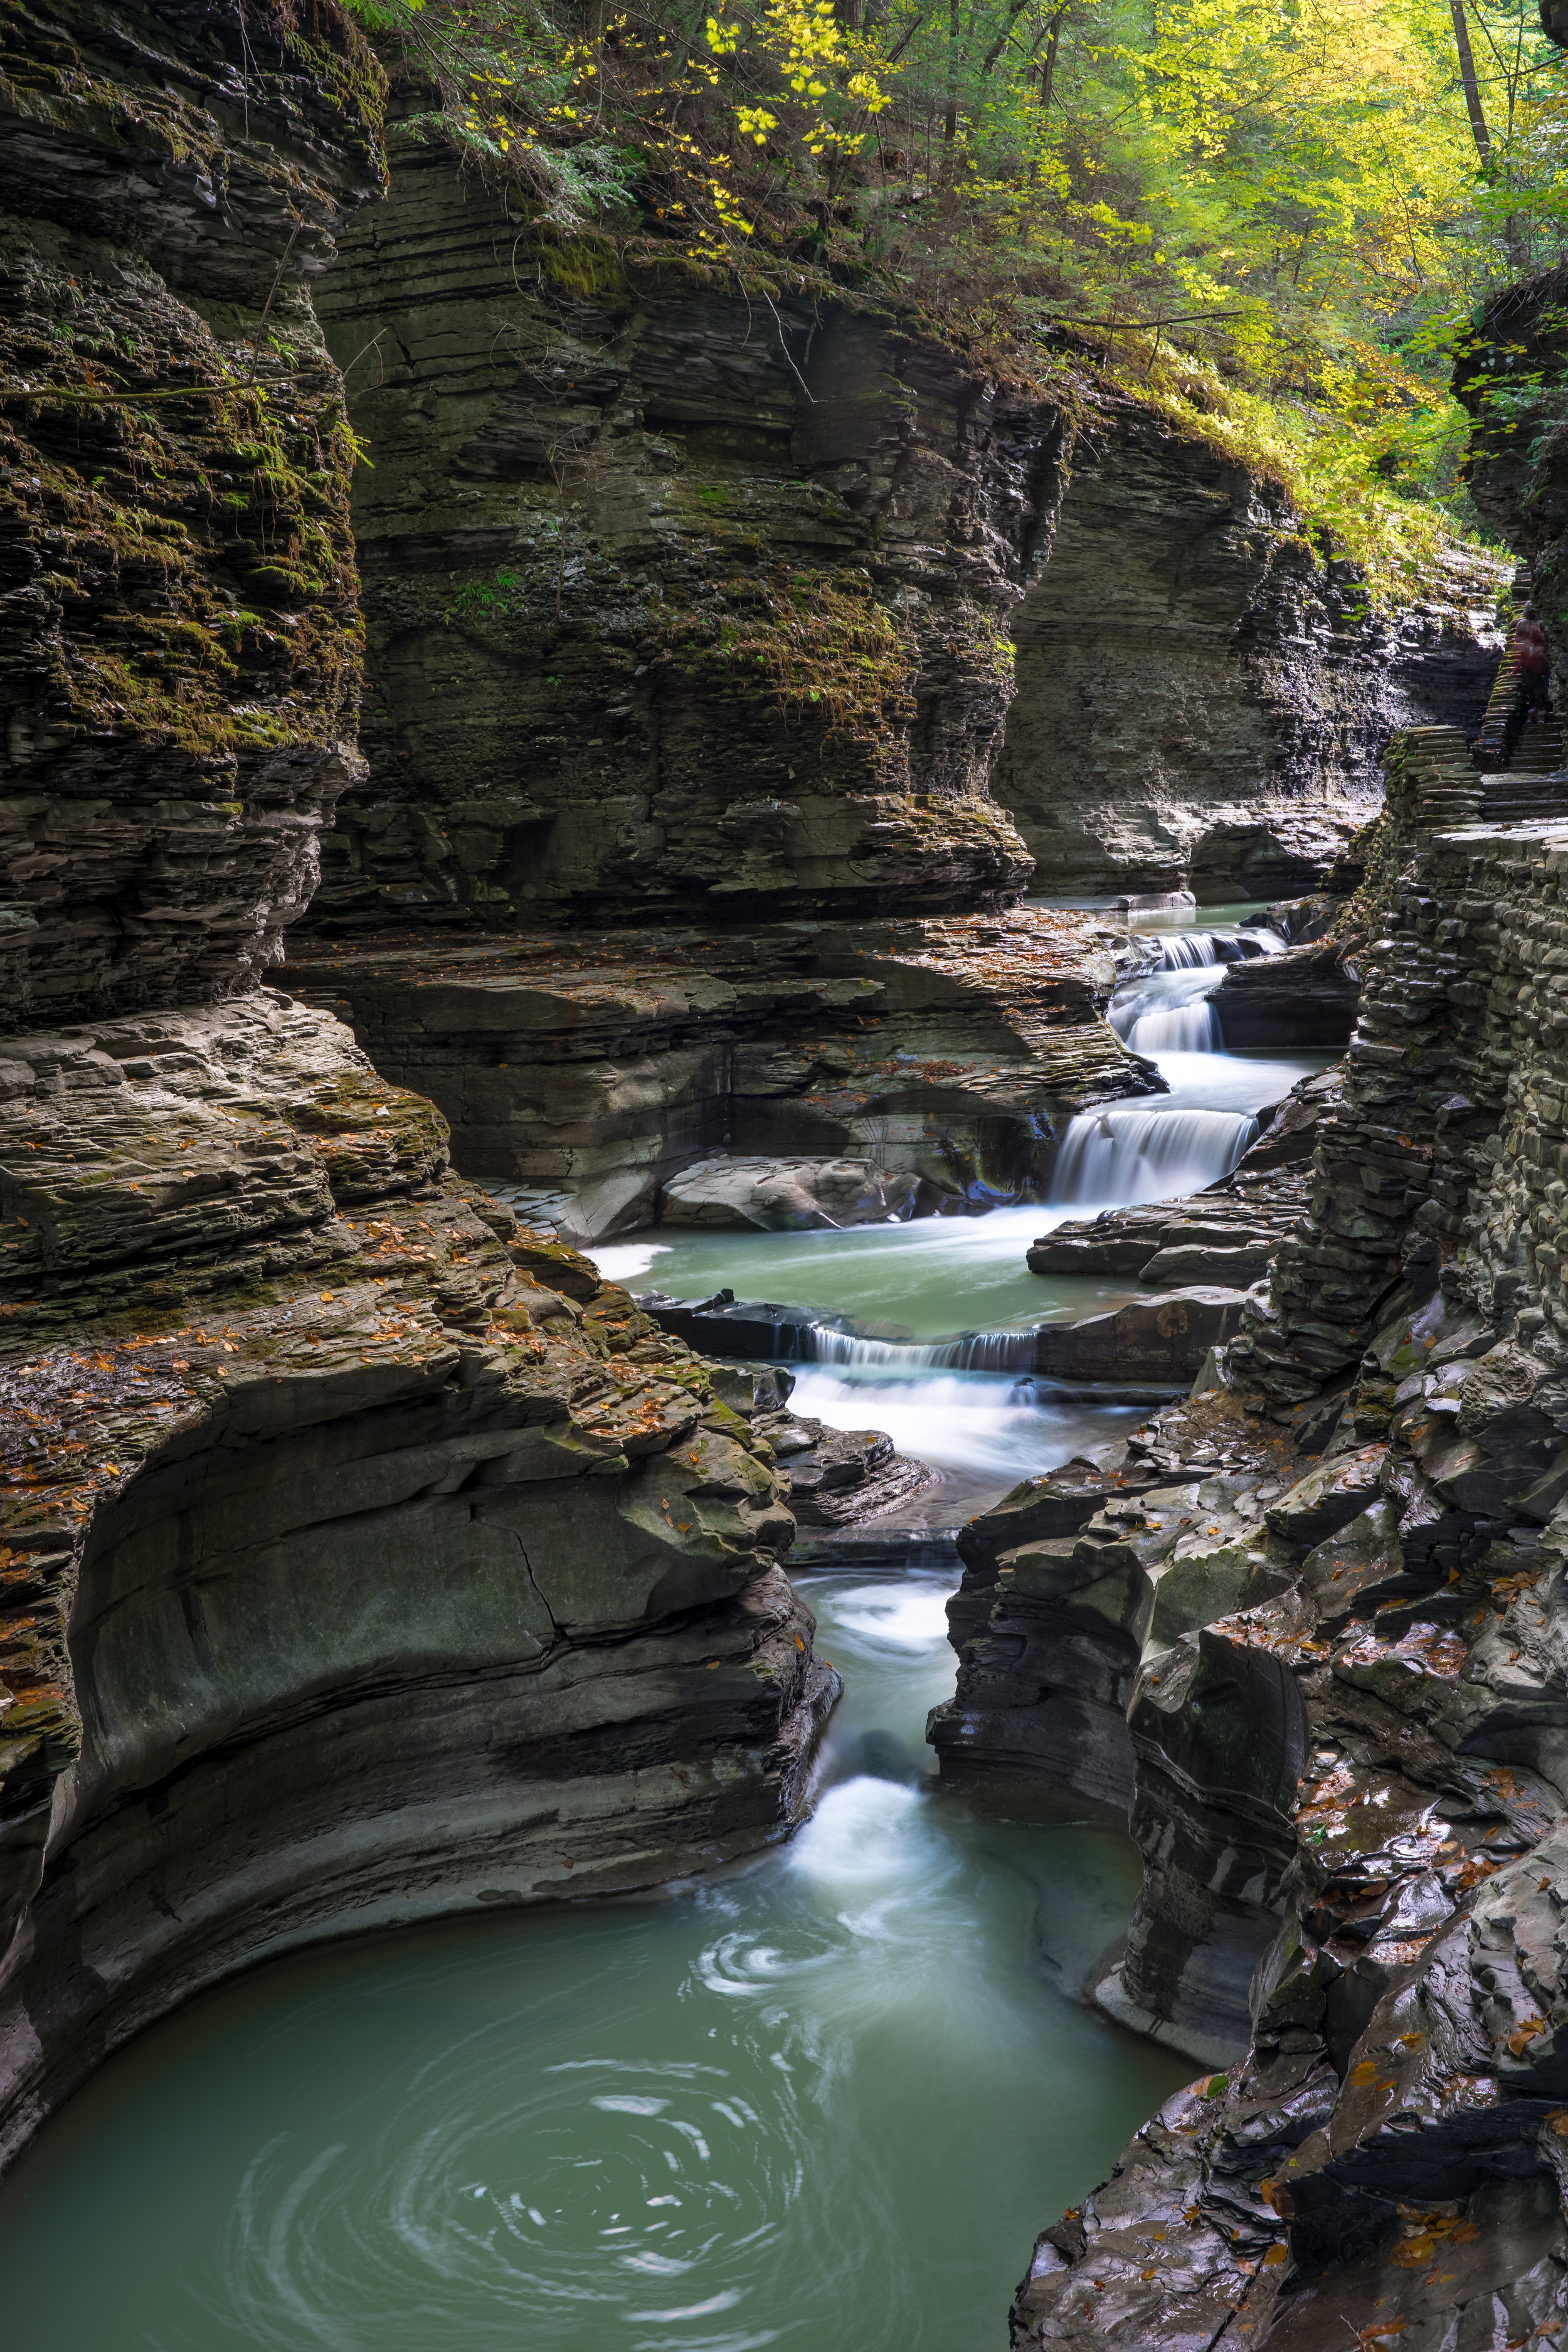
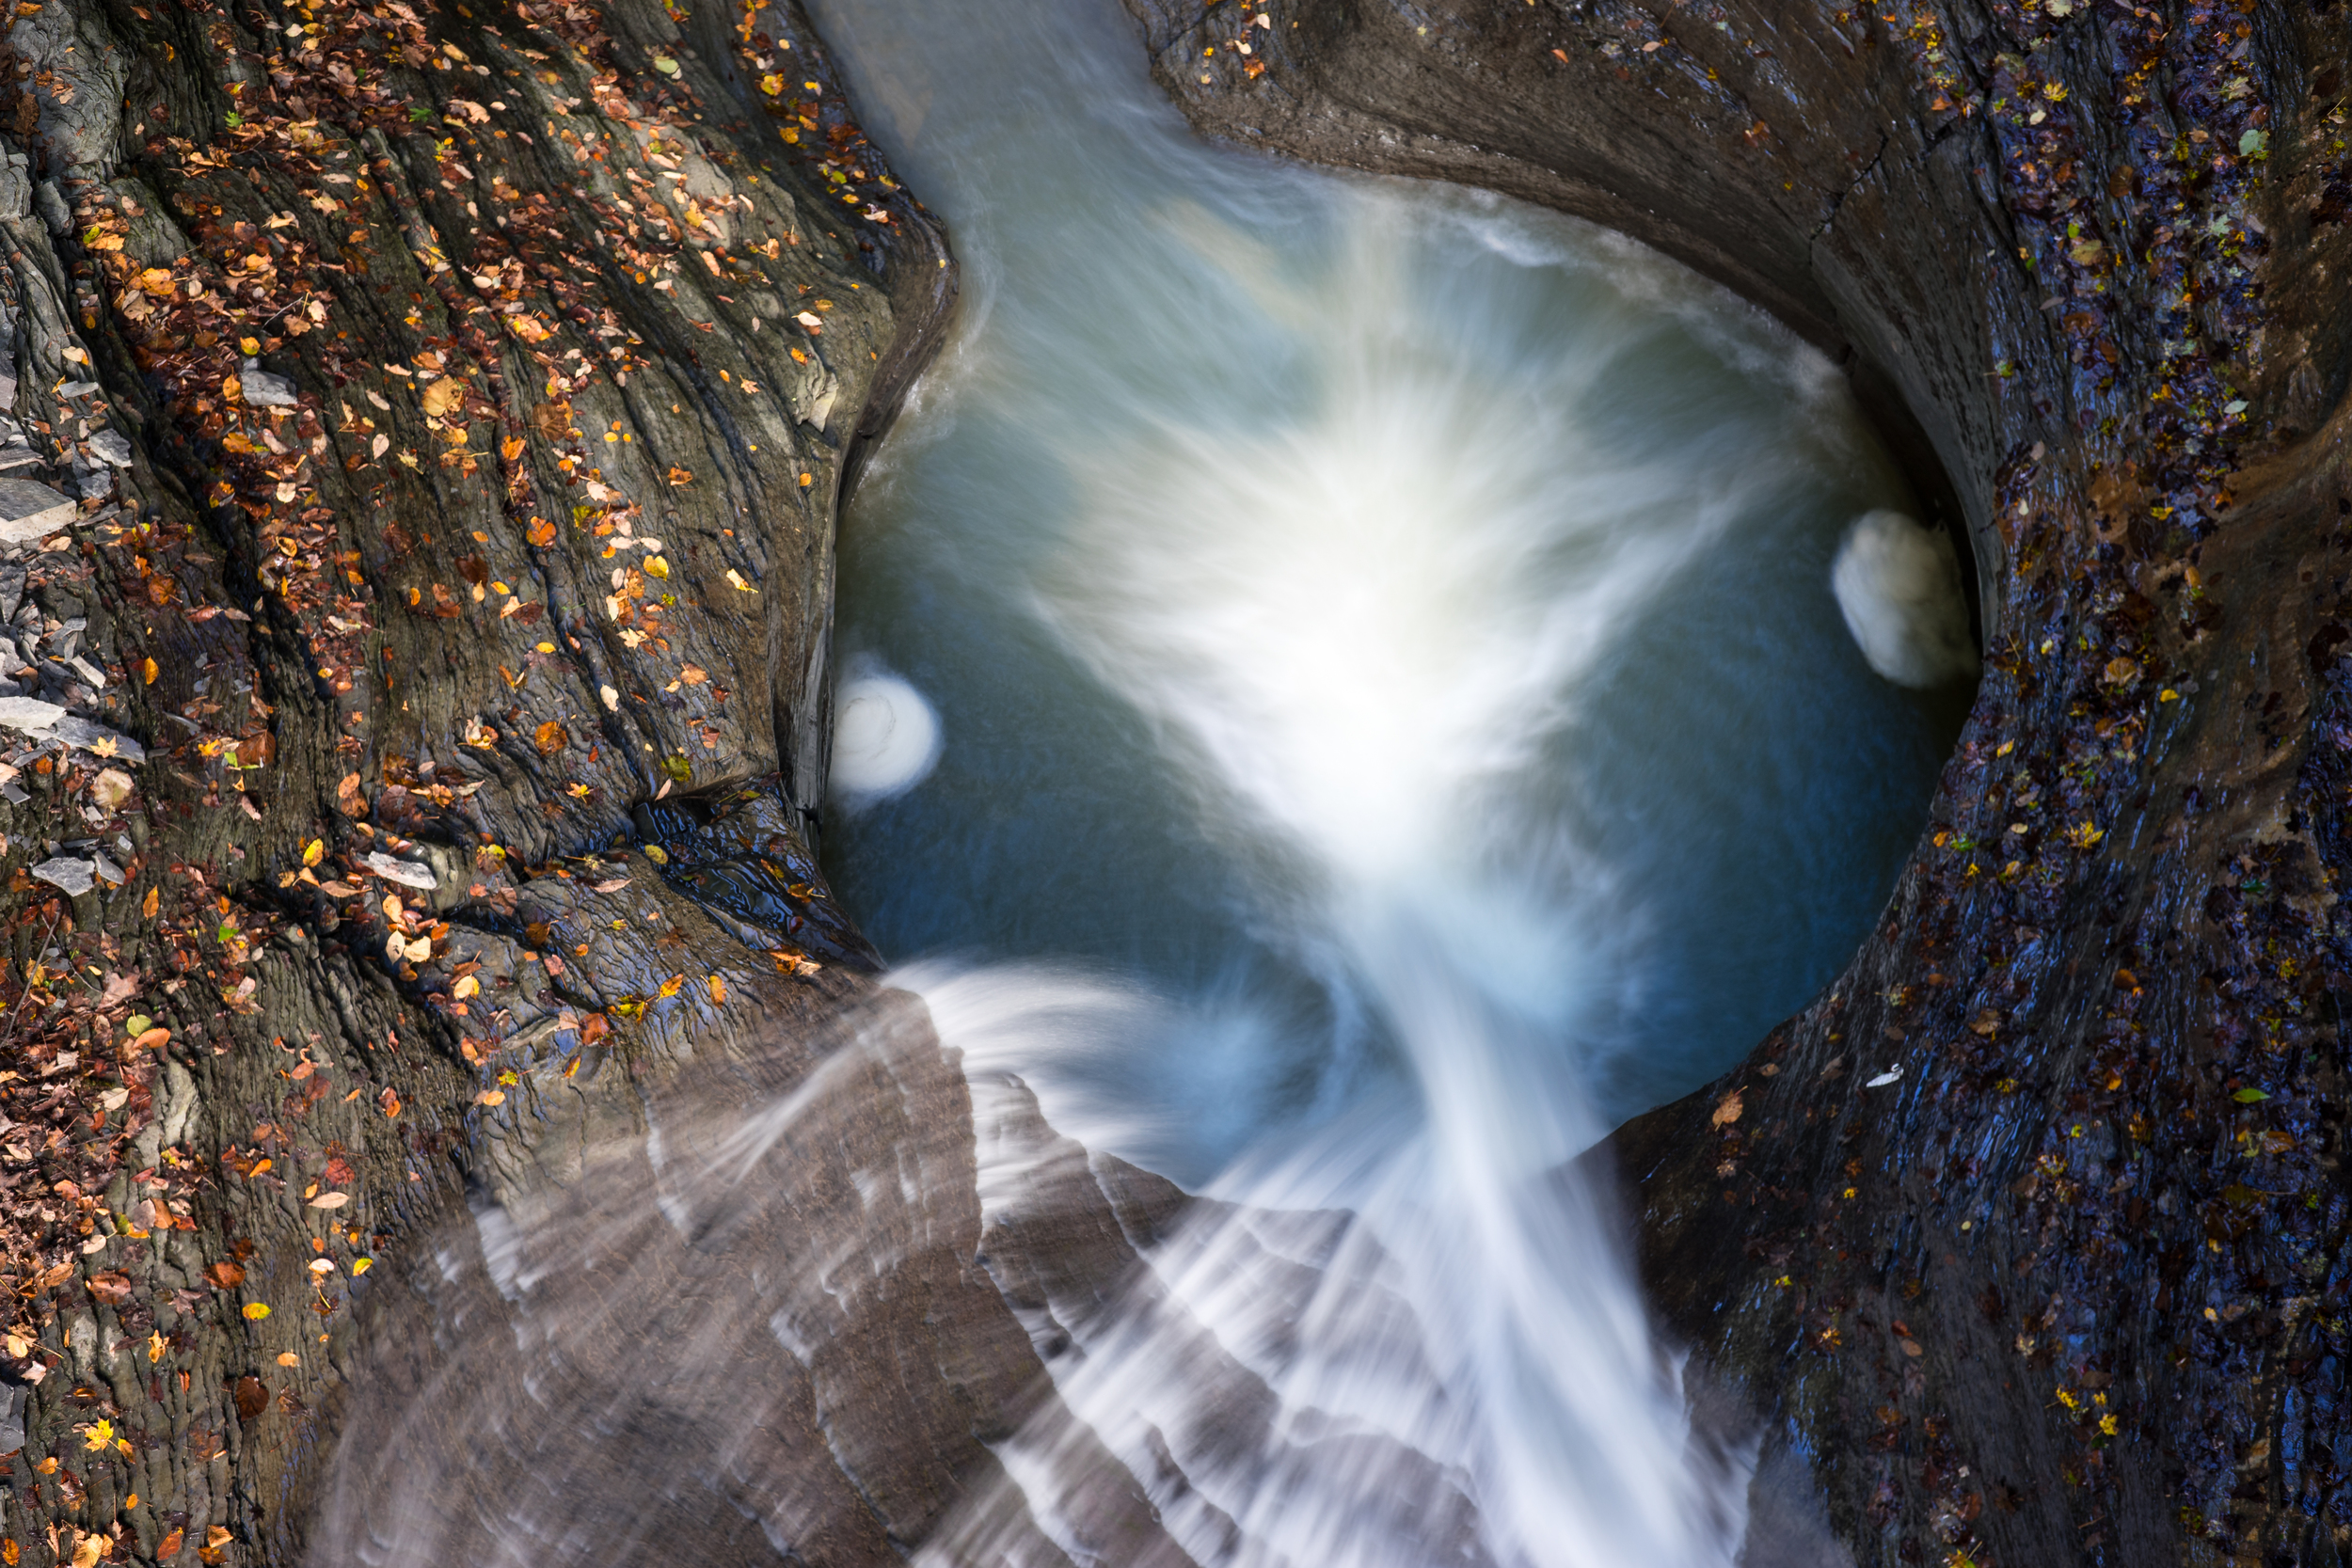
X-T3 + 35mm f/1.4 (1/125, f/1.8, ISO 4000) - Edited in Lightroom
The Fujifilm X-T3 is my favorite and the most well-rounded camera that I have ever used, however that is not to say that there are not features I miss. Having shot Sony, I will always miss IBIS. I often hear that IBIS is not a huge selling point for still photography, or some reviews have gone as far as saying it only benefits video - they are wrong. IBIS is useful for using extension tubes on non-stabilized lenses for budget macrophotography. While I am often freezing my subject with the flash in these situations, IBIS is incredibly helpful for establishing and maintaining framing and sometimes even finding your subject in frame depending on the magnification. IBIS is also great for using non-stabilized telephoto lenses including adapting vintage lenses. If I do not have to be on a tripod, I would strongly prefer not to set one up and stabilization gives you that little extra control to monitor your frame lines. There have even been situations that I was able to get a grab shot for Instagram at 1/2 second to add motion to water. The X-T3 will be the last body I buy without IBIS. I also occasionally miss using a camera with a full frame sensor and the benefits of reduced noise at higher ISO and not having to apply a crop factor to my lenses focal length an aperture, but at the moment the size and weight benefits of APS-C tip the scales in Fuji’s favor.

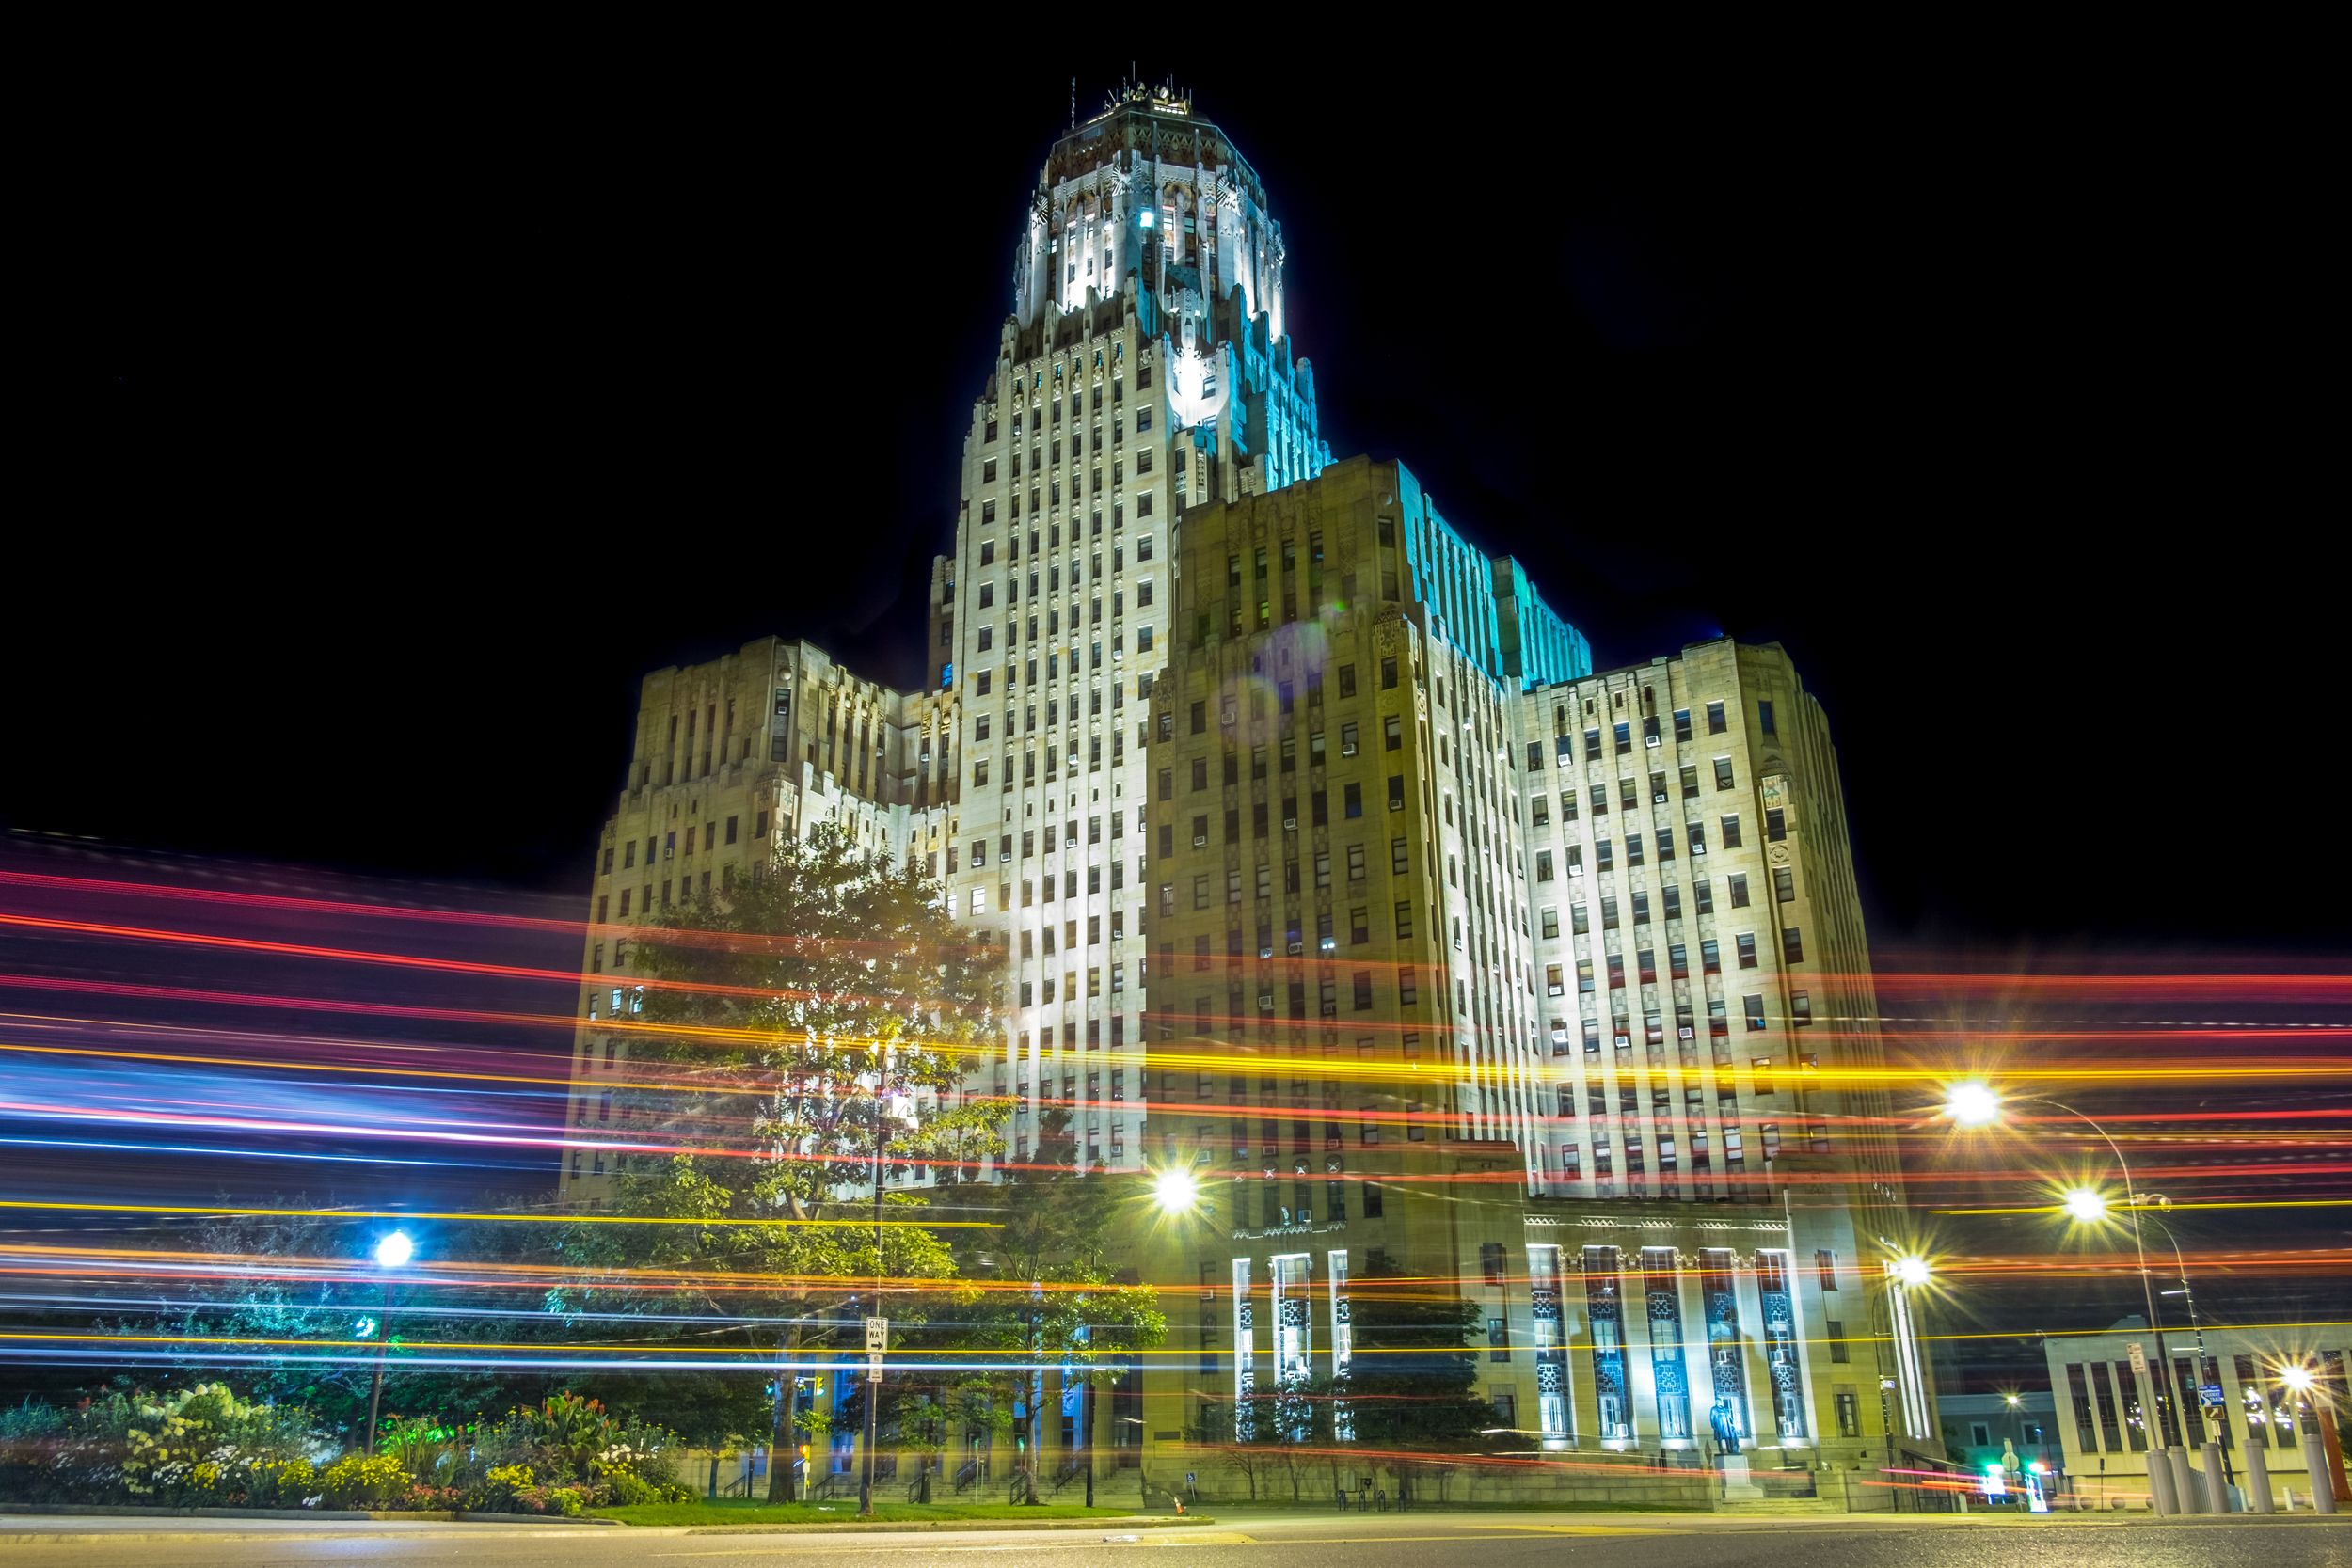
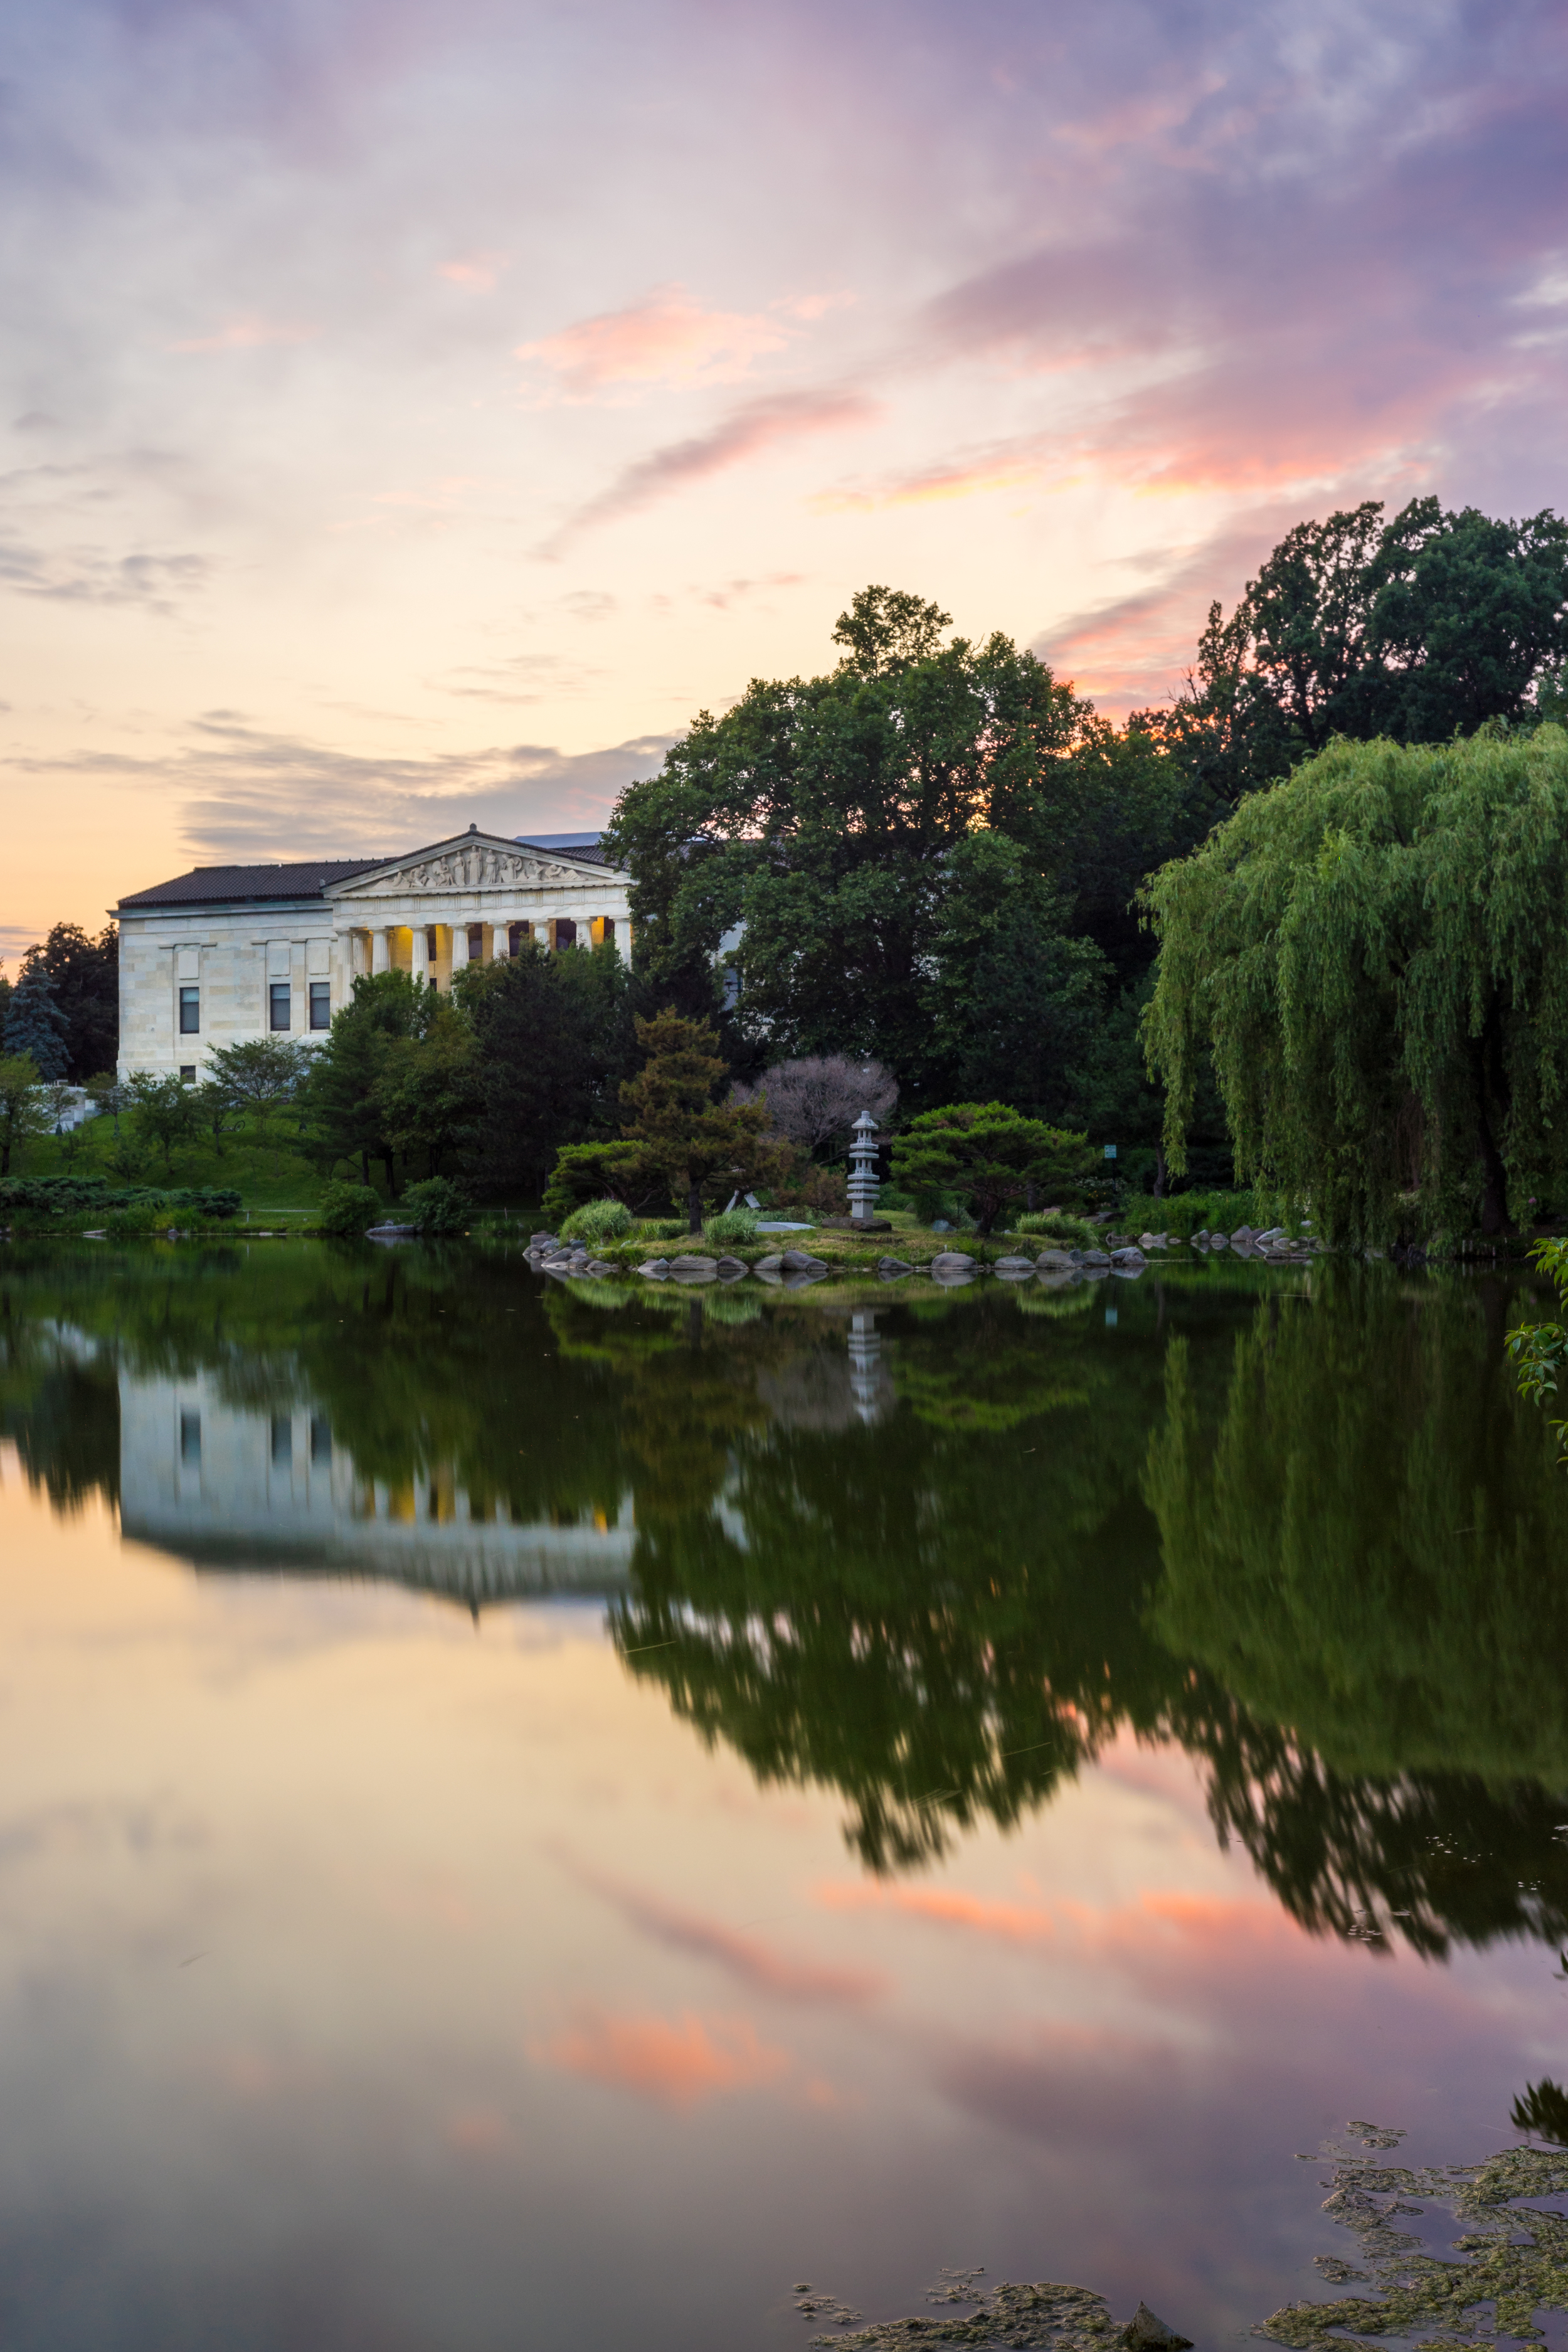
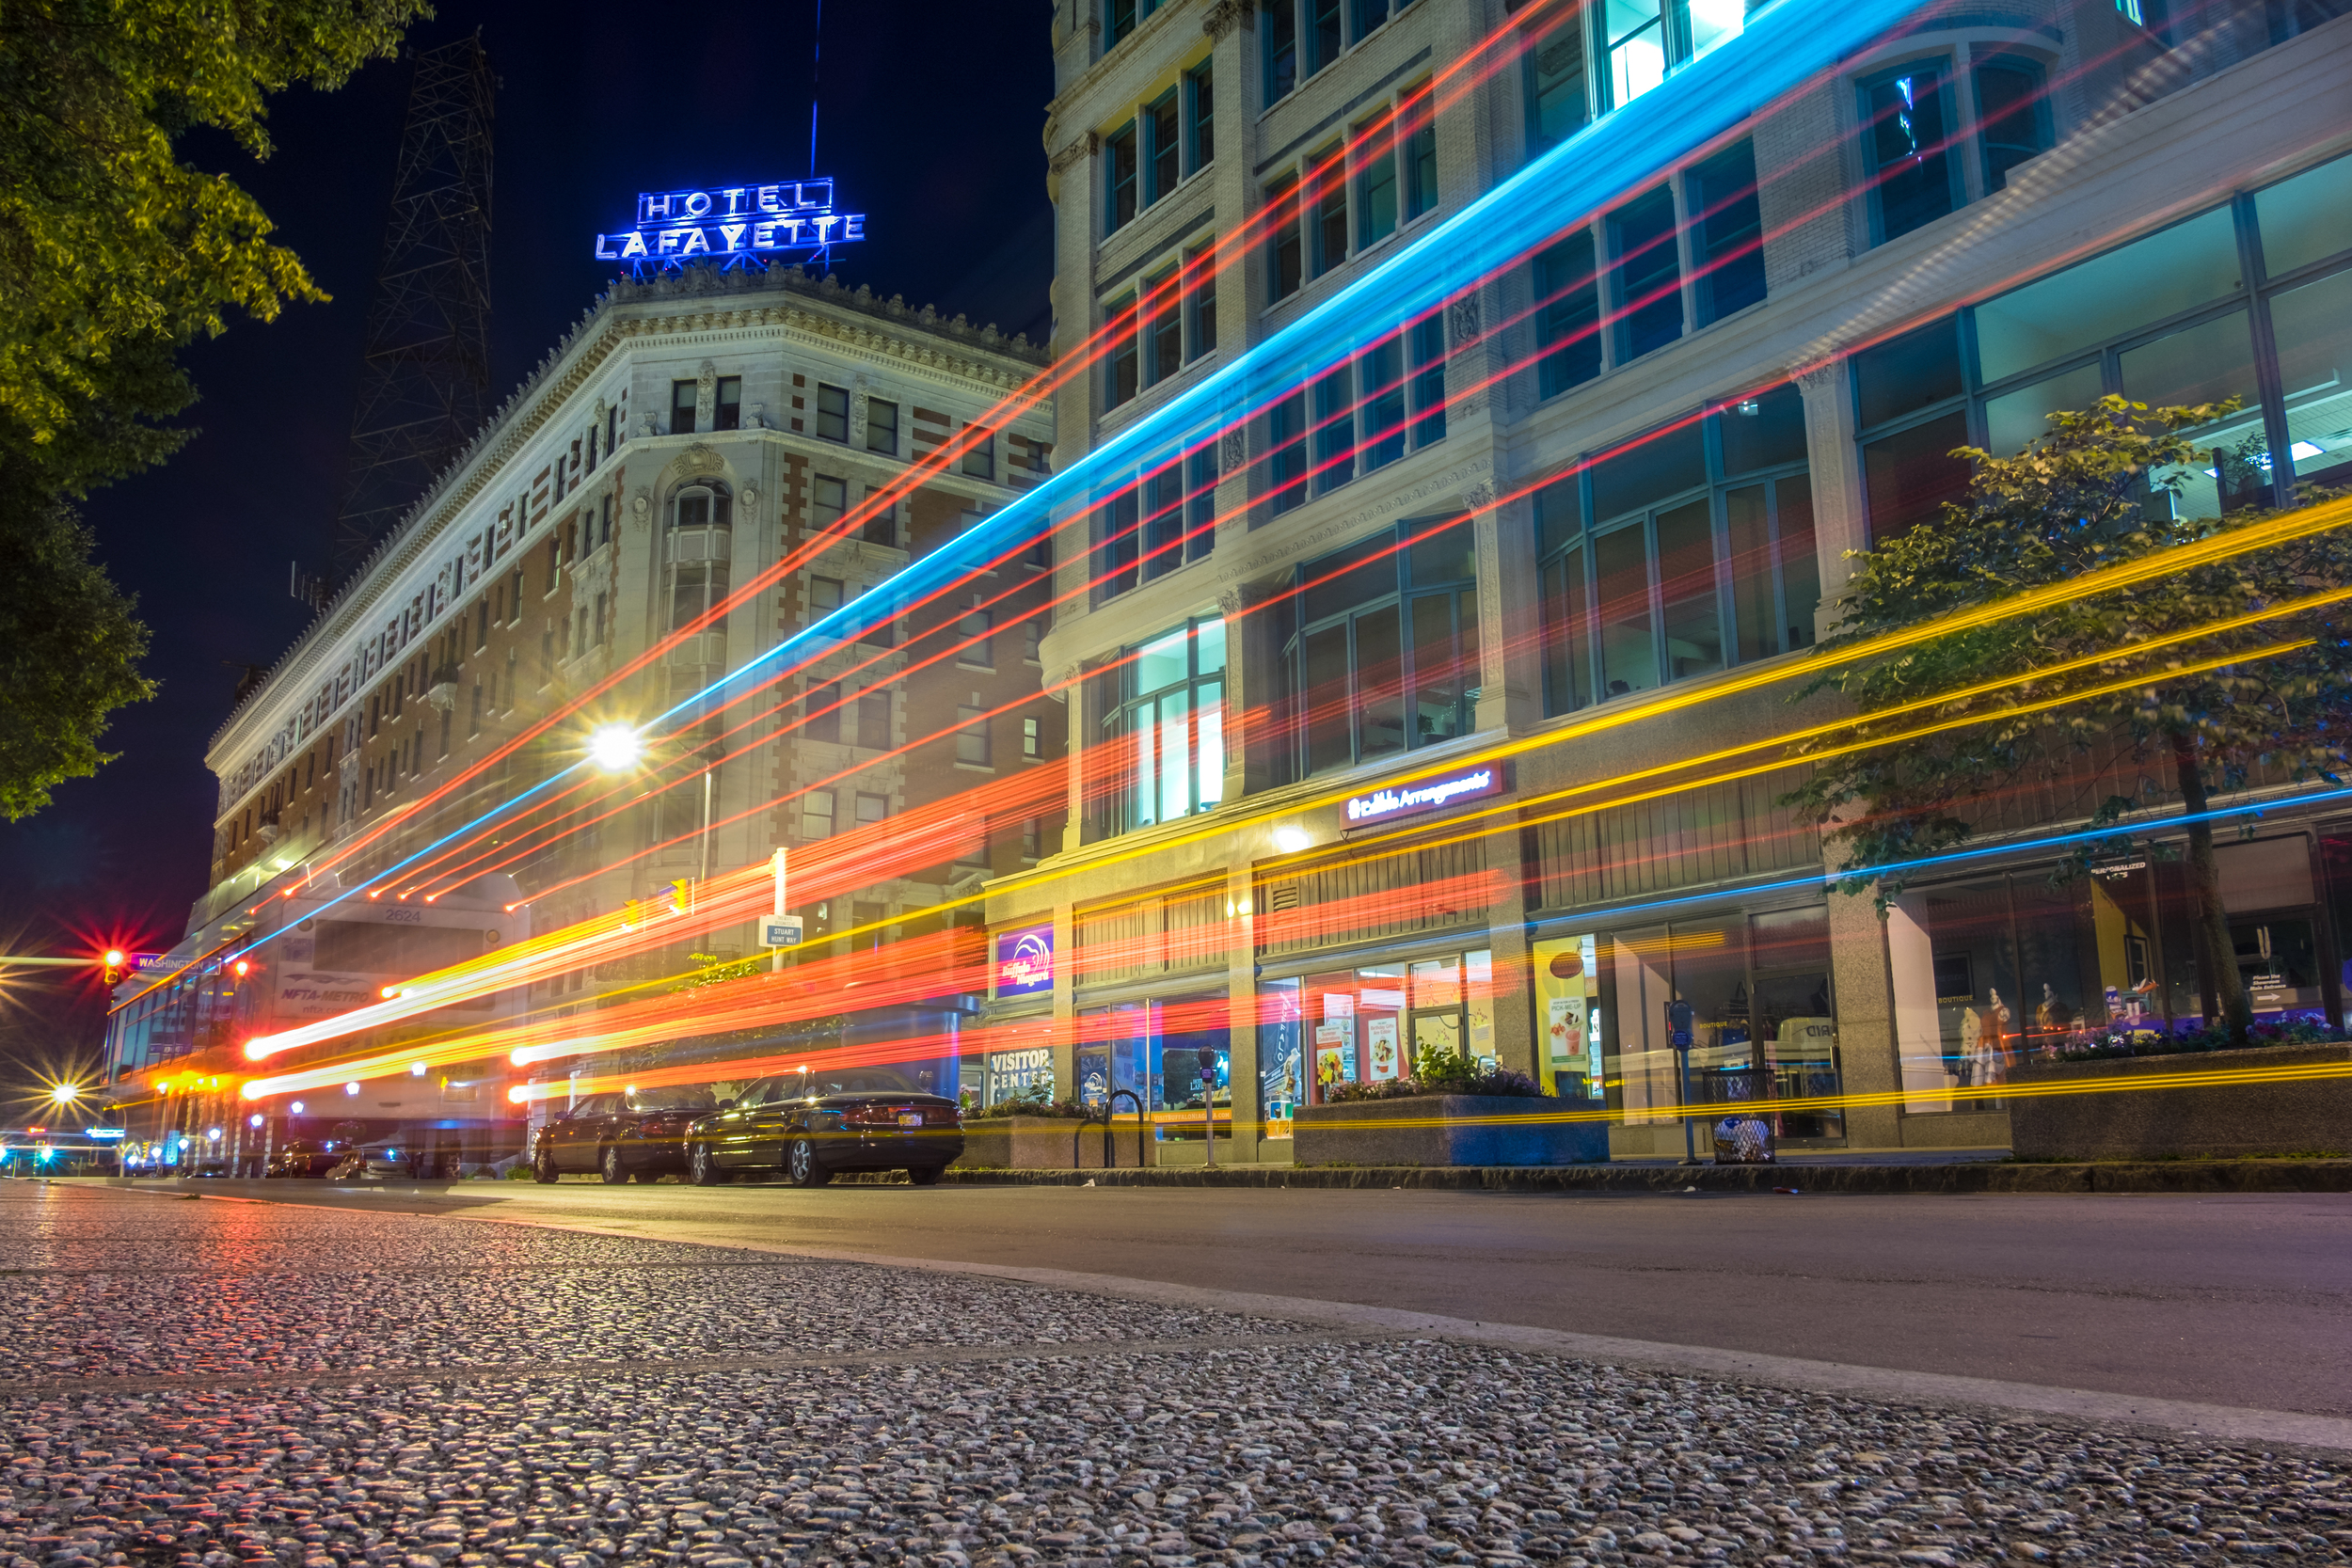
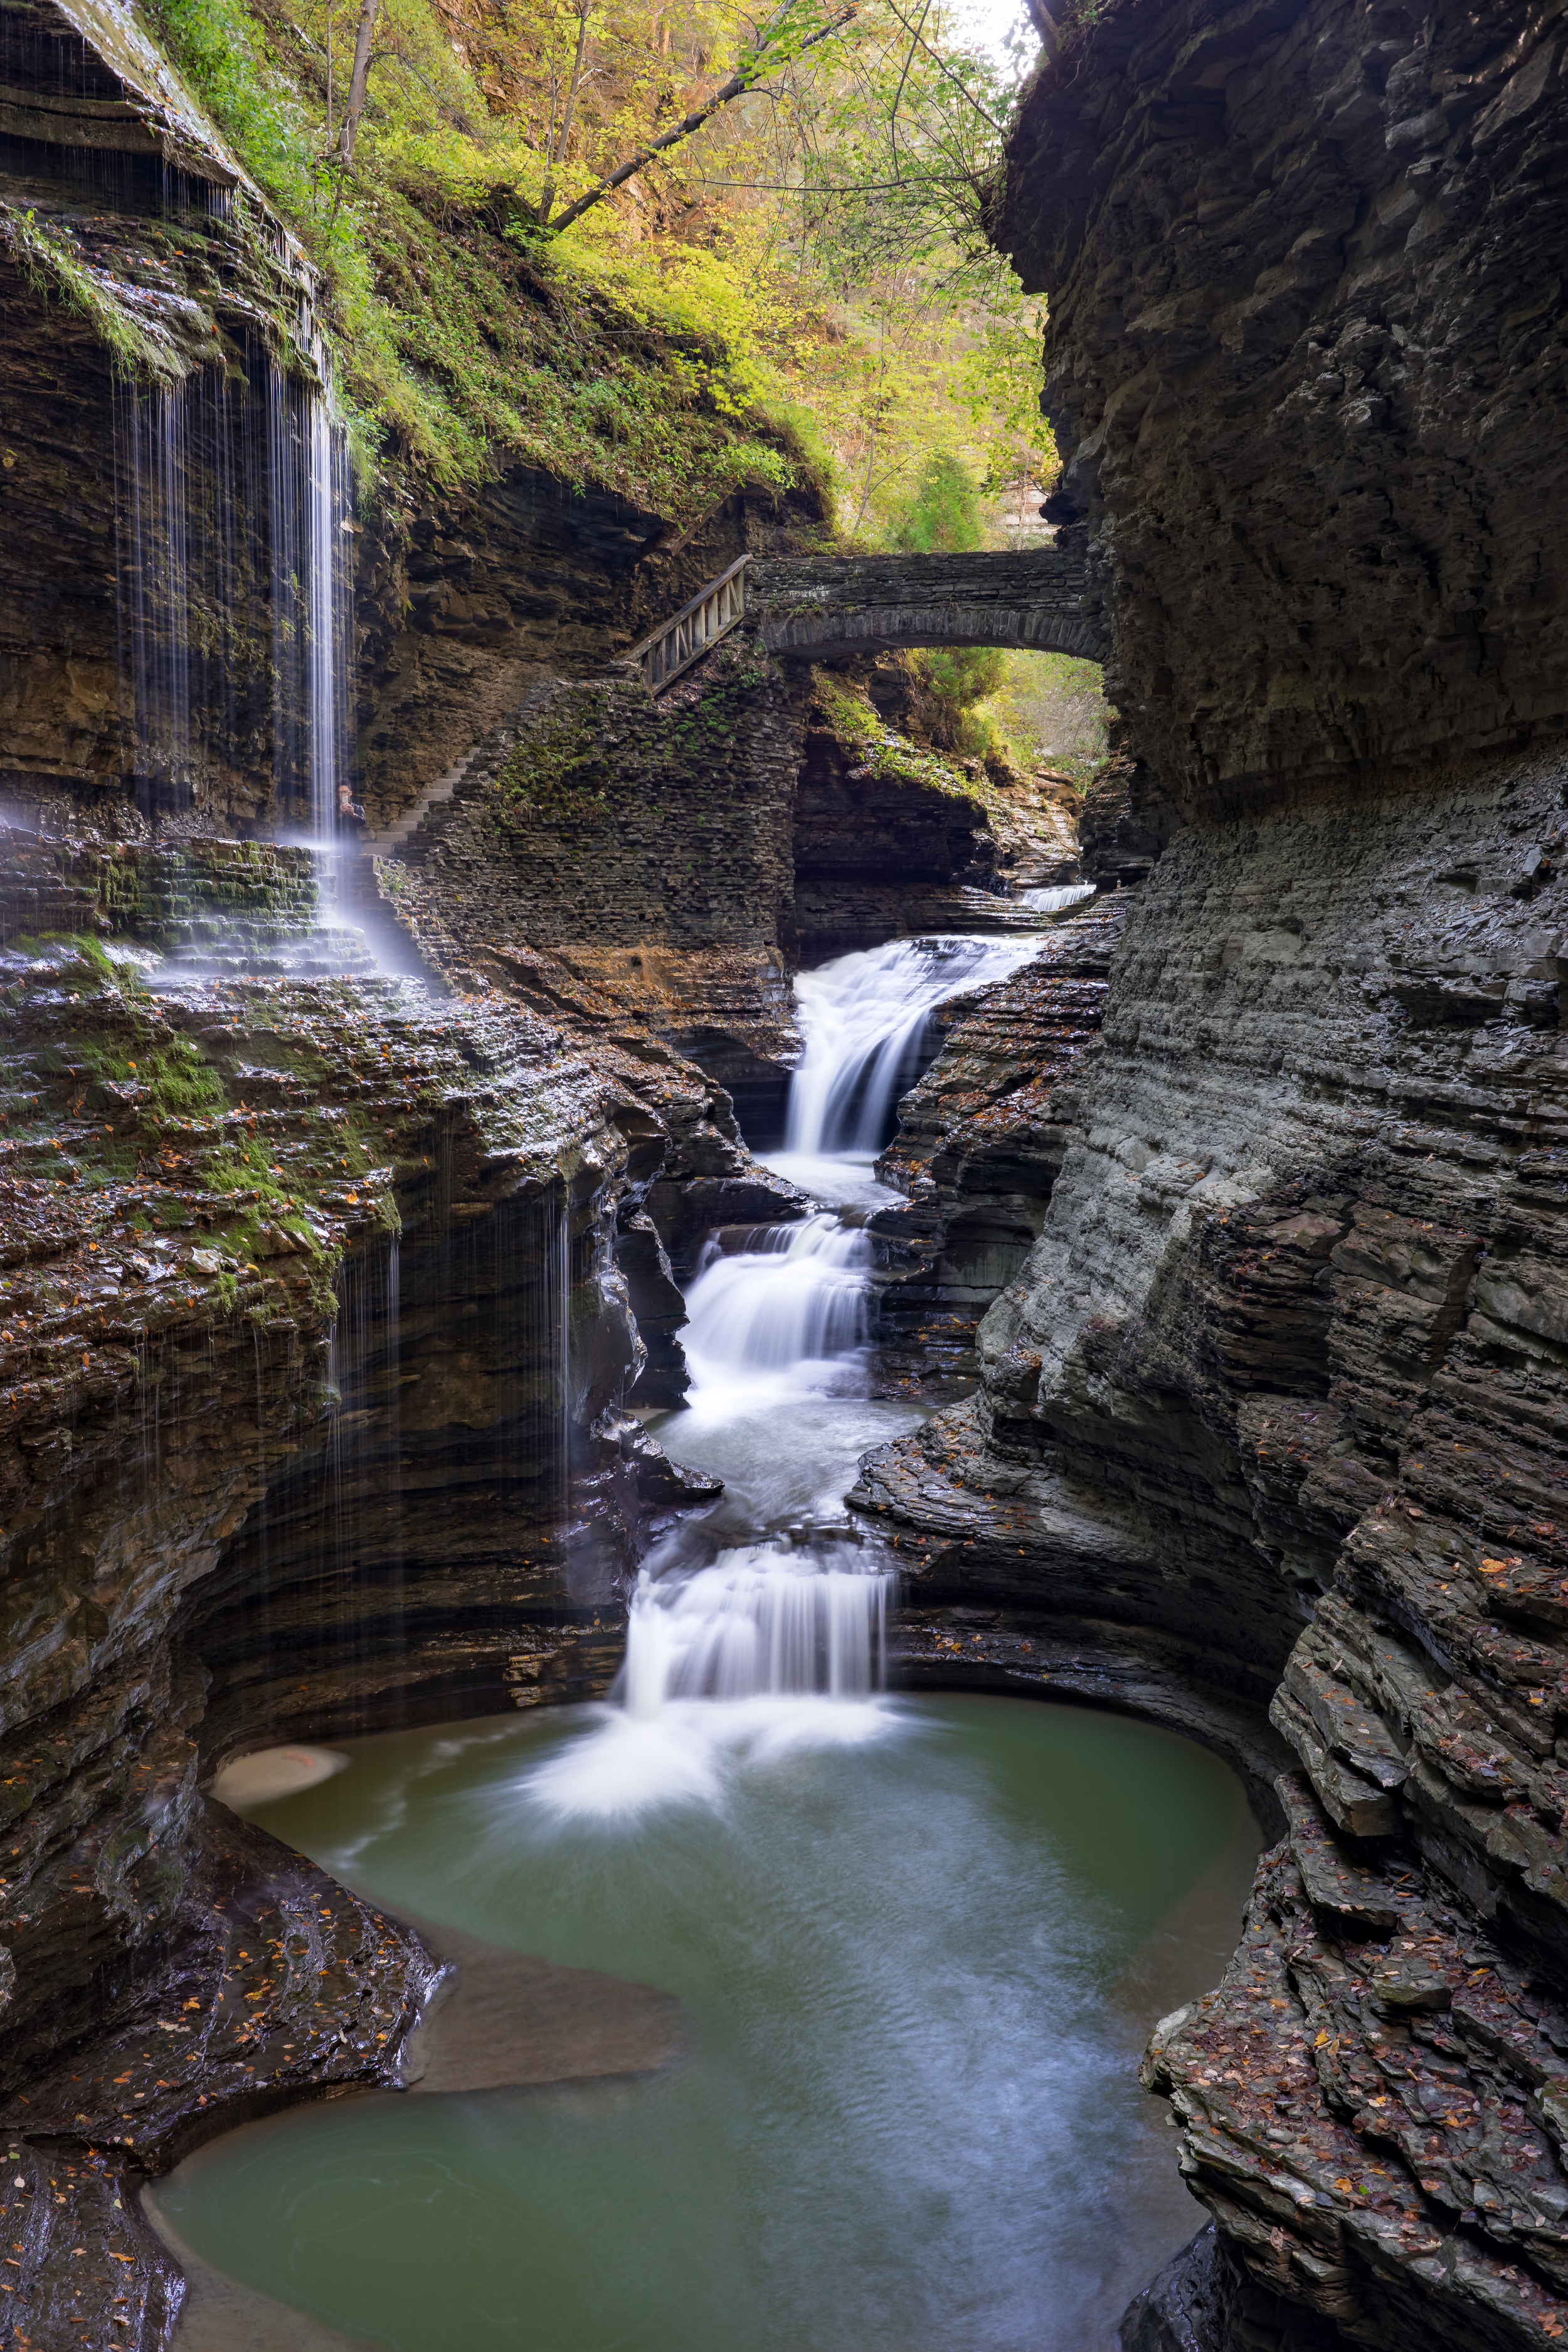
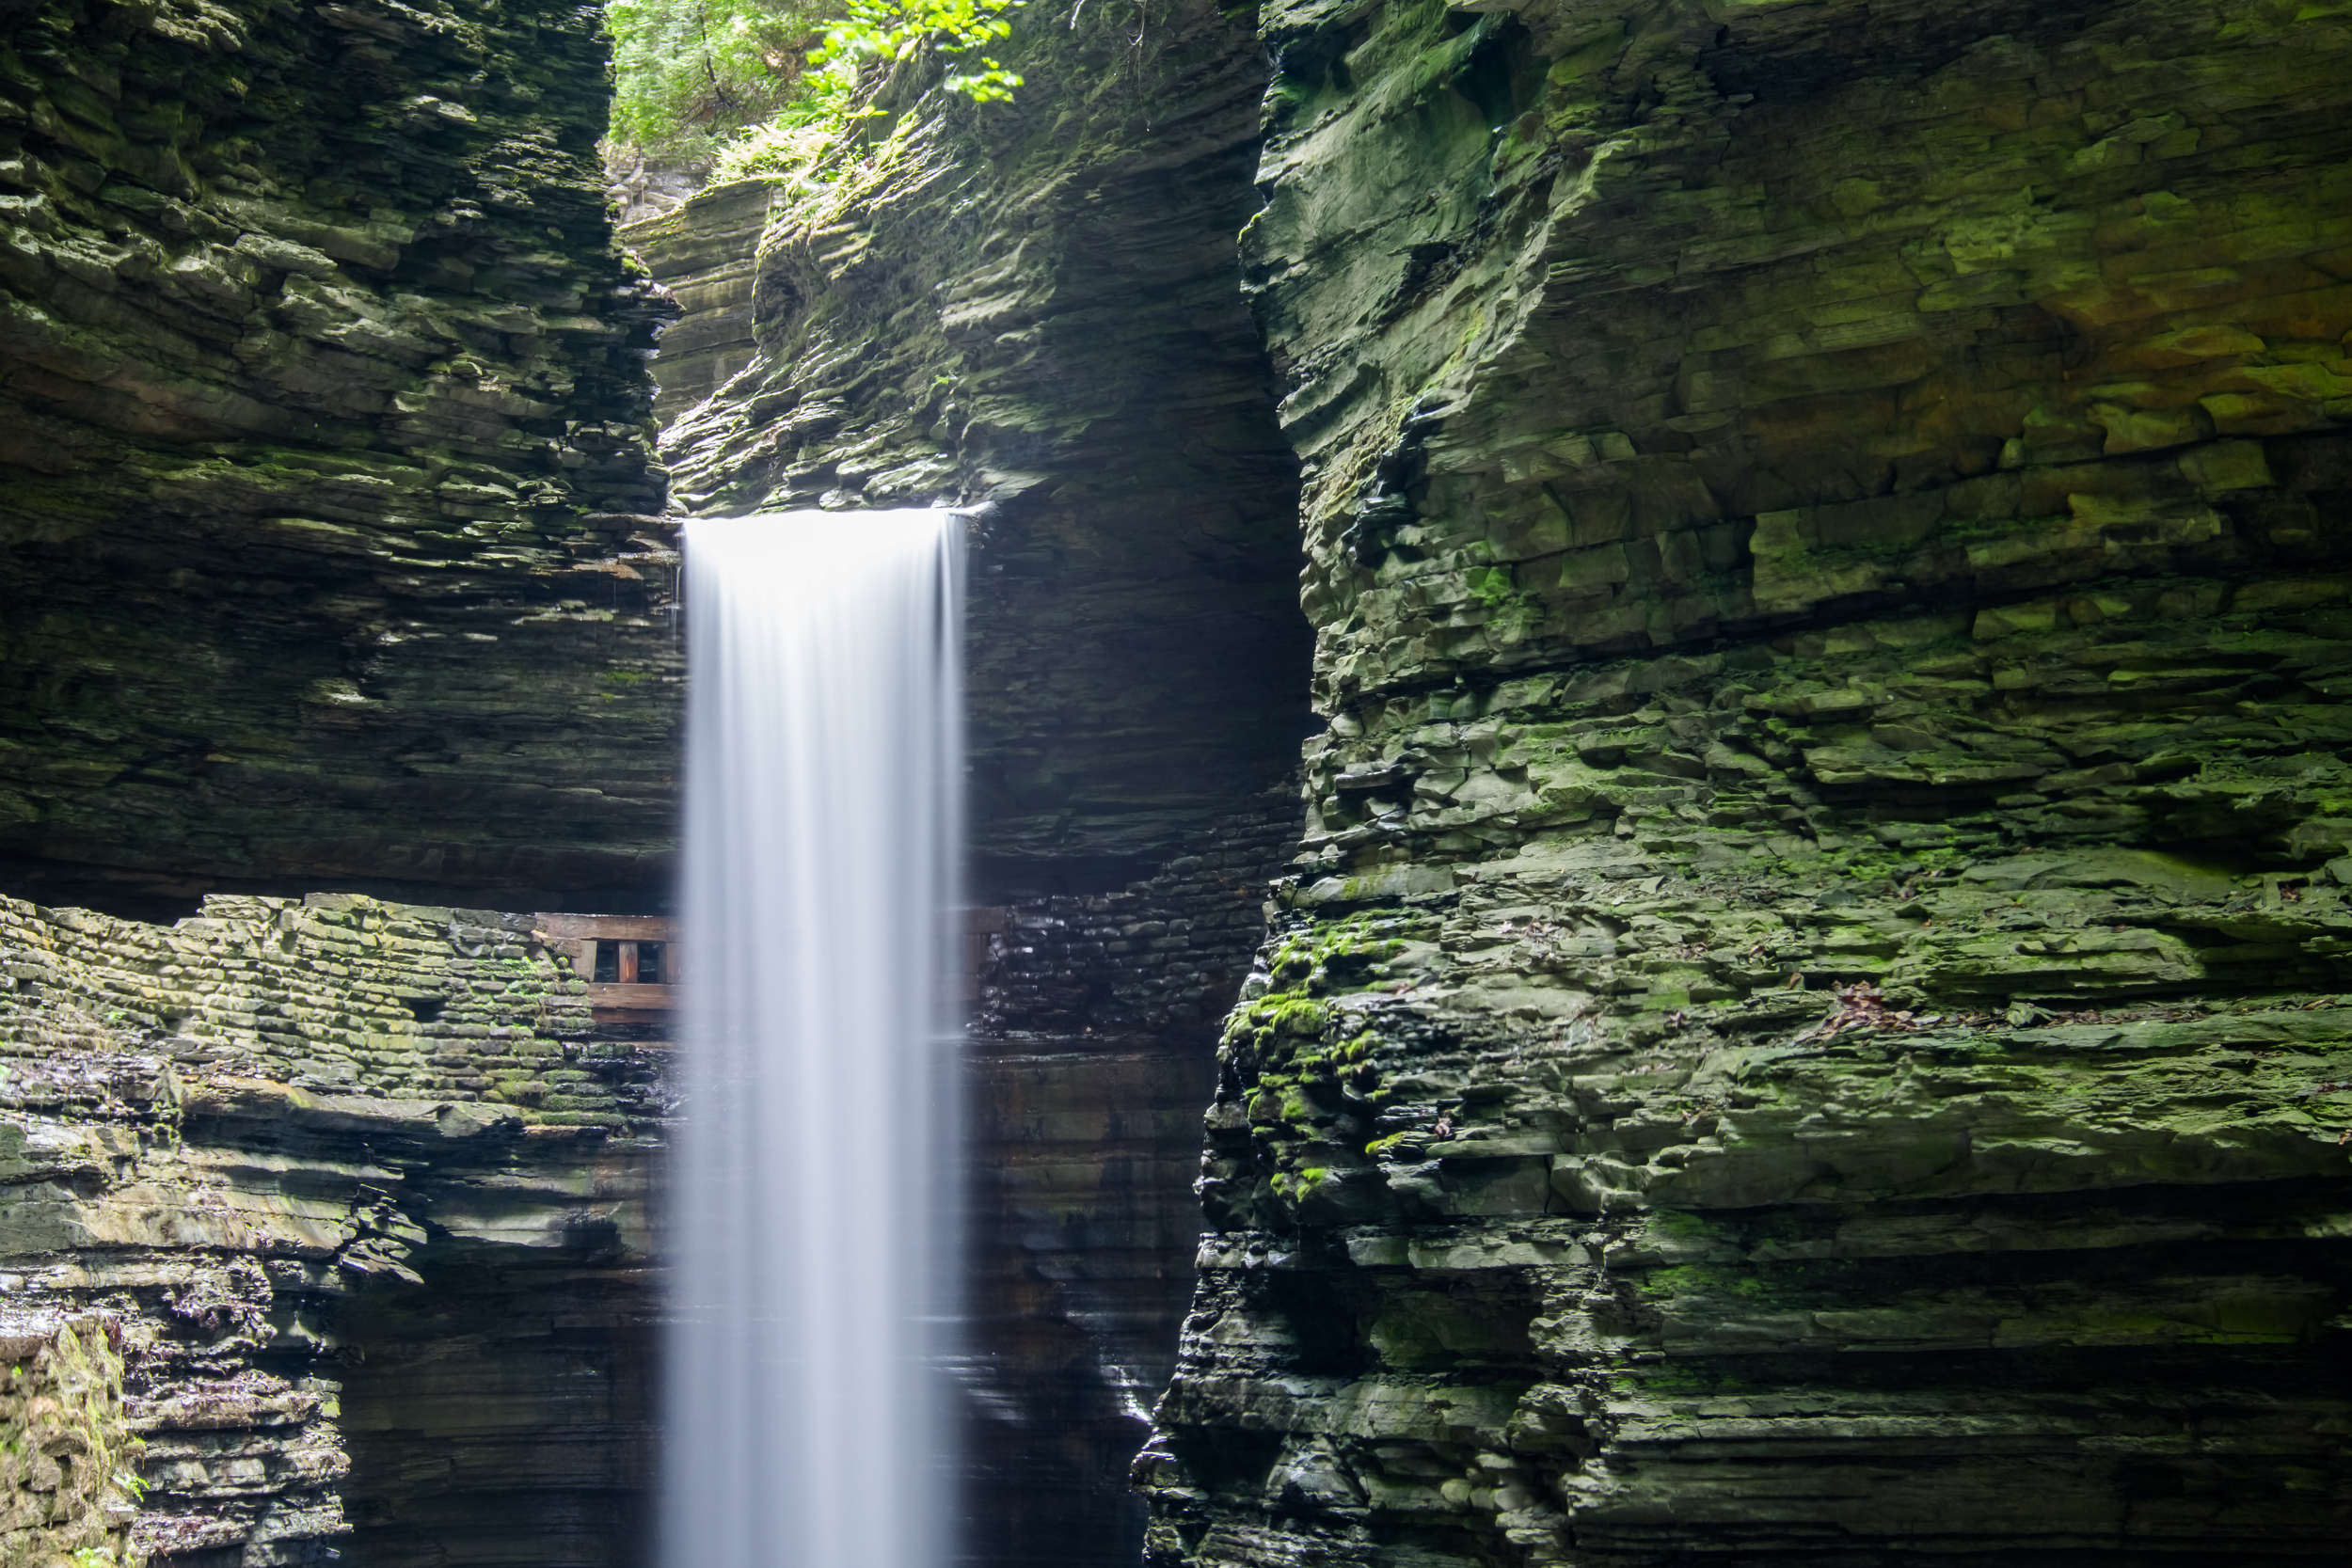
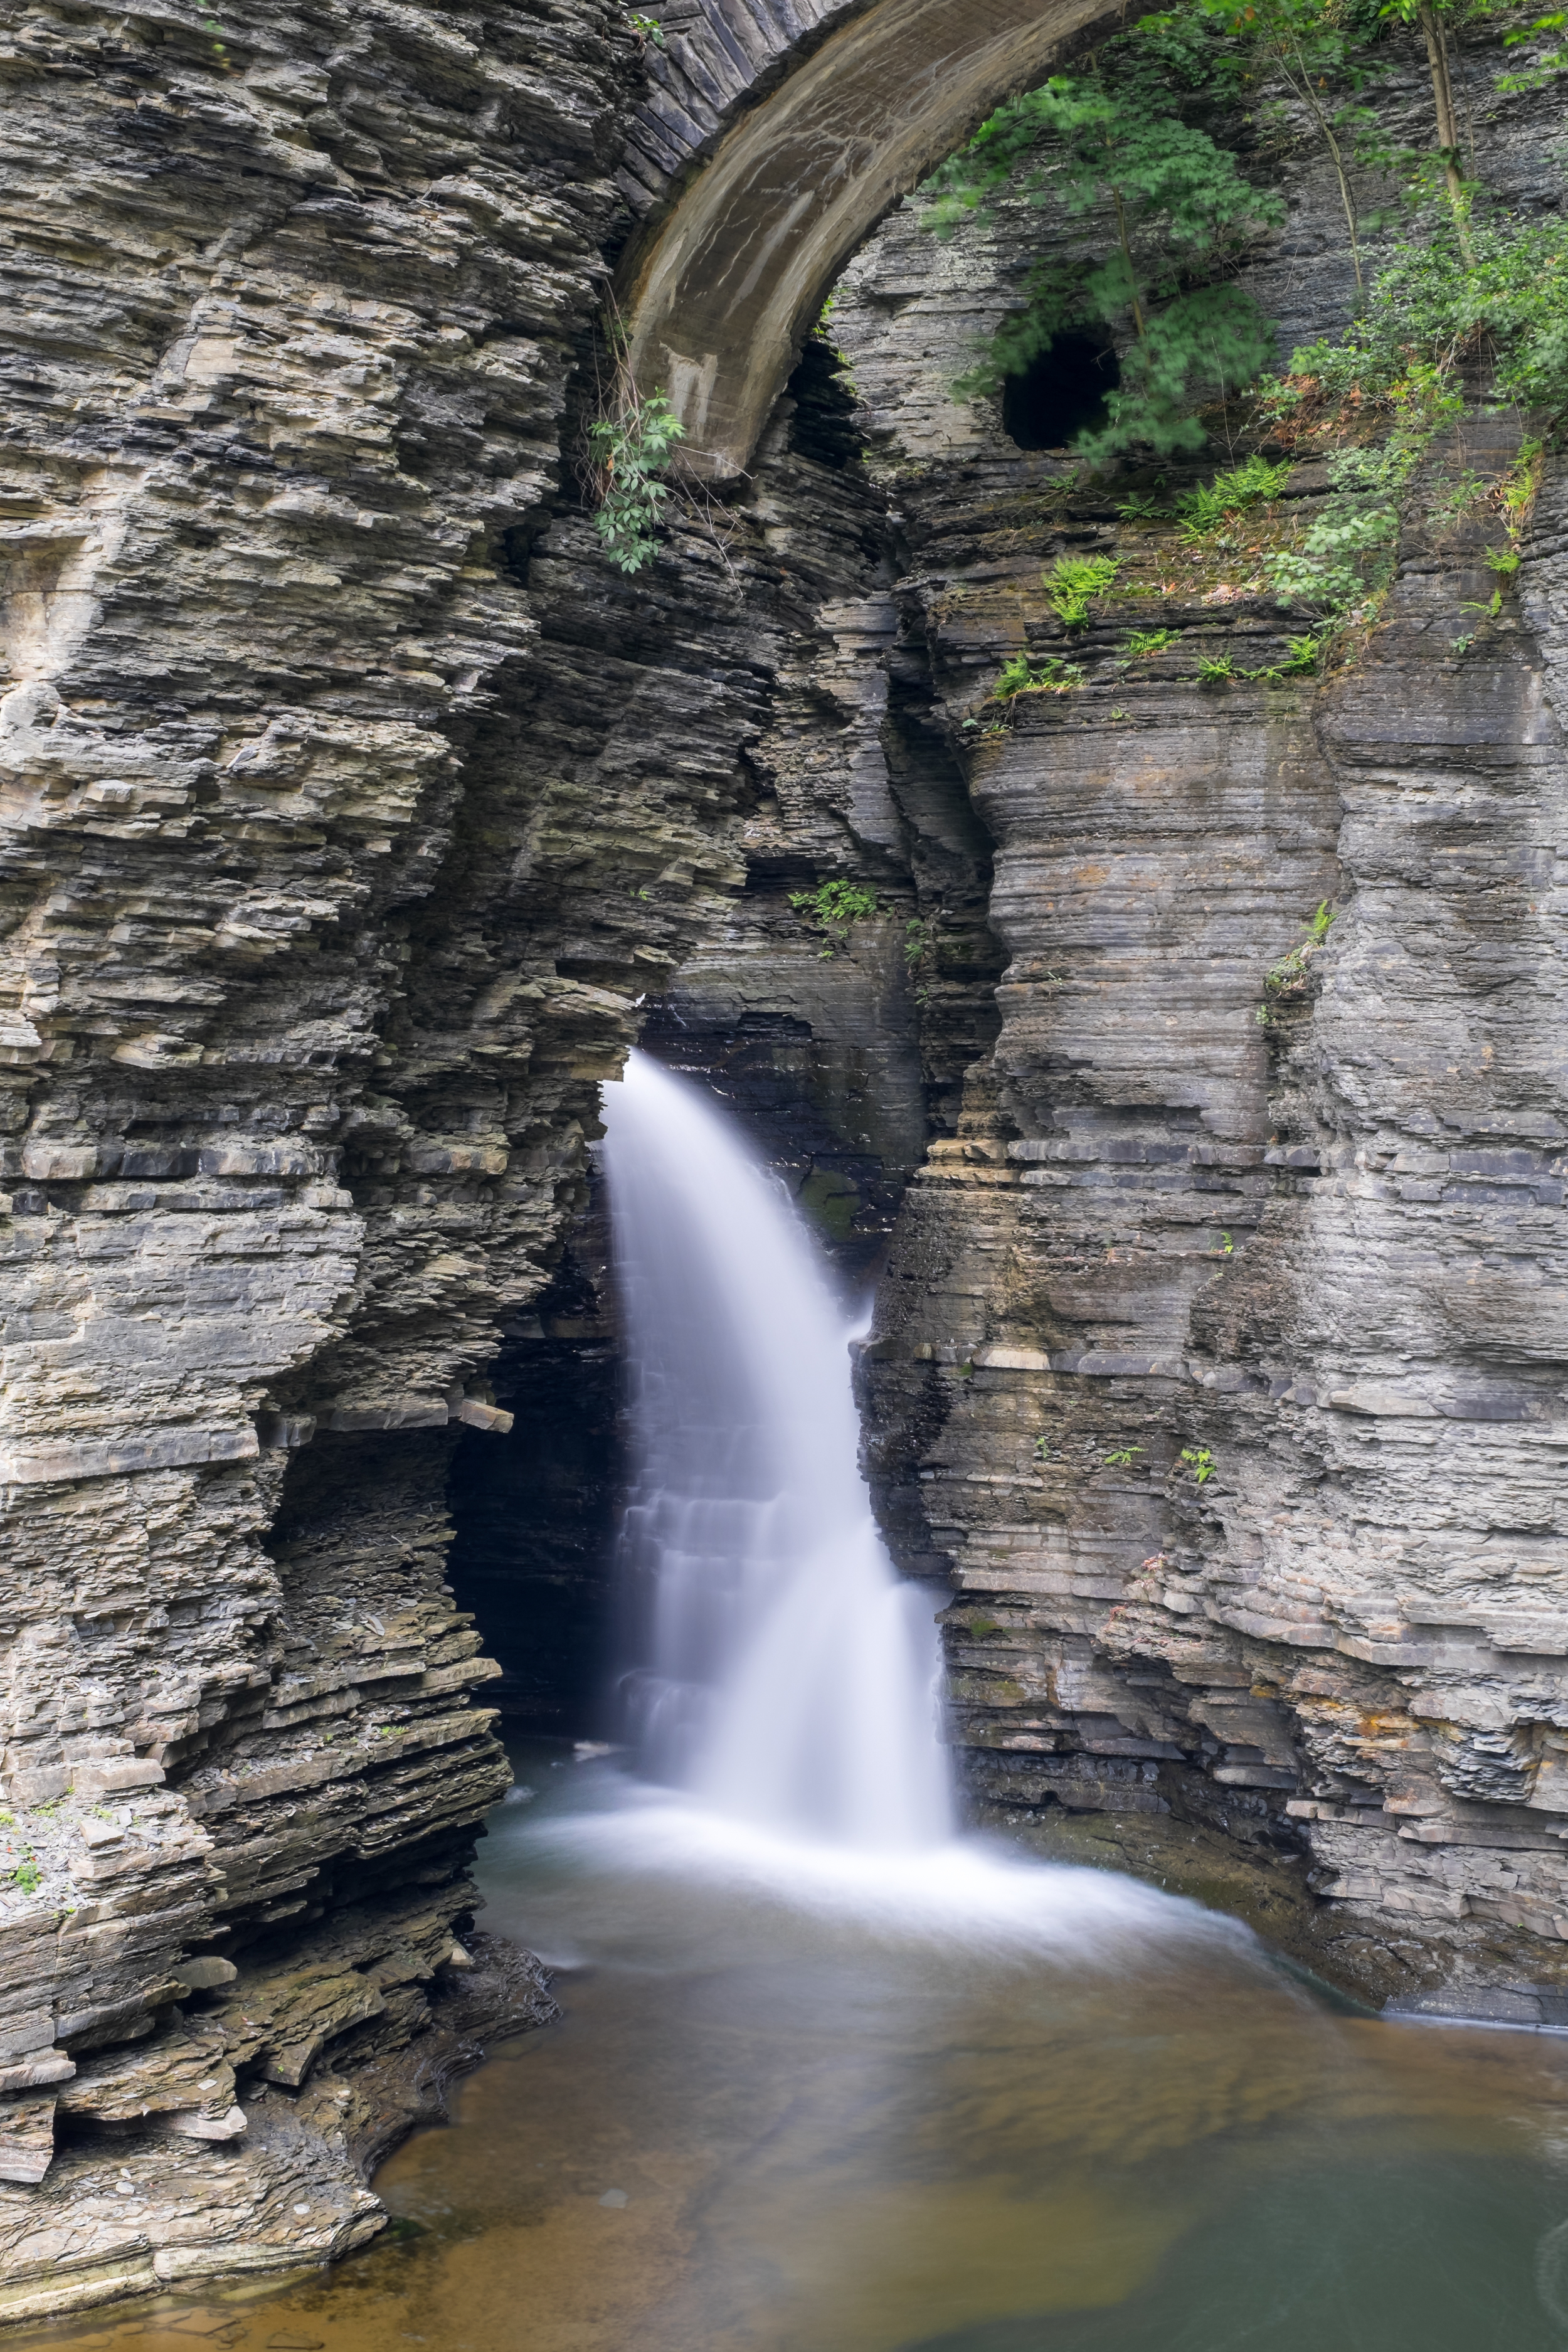
X-T3 + 35mm f/1.4 (60 sec, f/8, ISO 160) - 10 Stop ND Filter, Edited in Lightroom